Showing posts with label Painting. Show all posts

Wednesday, 2 March 2016

From Druid to Tyrant, 4 months in.

Hey guys It's Aaron / @PG_SadPander on Twitter and I'm back with a post about my journey from Druid to Tyrant. After playing pretty much only Circle Orobos from 2011 to 2015, late 2015 I decided I wanted to shake it up. I'd played Kreuger2, Braddigus, Morv2, Morv1, Kromac2, Kaya2 etc etc a lot and I just wanted to keep the game fresh. No Warmachine factions really appeal to me, I mainly go for a faction because I think "This looks rad" and that's what I did. I picked Skorne for 2 reasons really. 1 - The faction is just stunning, i love the overall feel and the look of the faction. It's brutal from top to toe and that's what really sold me on the faction, but secondly because I was always told about how bad the faction is. It's not represented at this event because they're awful, etc.

Now don't get me wrong, despite my constant trash talking and delusional speeches about how I'm going to take the Welsh masters crown, I'm under no illusion of Skorne's power level. They have some inherent downfalls which despite however good a player you are, you can't overcome. Cryx recently getting Mobius really destroys Mordikaar as a Cryx drop and the faction really doesn't have a good answer to Cryx. There strongest lists (Mordikaar, though maybe not anymore and fist) have been the same lists for a long while. People know what they do and how to play them, as well as croaks hurting Skorne seconds go to list - Fist.

With all that said, I'm currently 54 games in with skorne with a 80% win rate. I haven't attended a Steamroller/Masters event yet (Though in the next 3-4 months, I now have 11 events lined up, which range from local steamrollers to UK Masters/ETC/Welsh masters) but I'm pretty happy with how they perform on the table. I've just recently switched from Makeda2/Fist to Morghoul1/Mordikaar and I am having a blast playing it. It's really helped re fuel the fire of the game for me in more ways then one.

In circle, I own the whole range with enough models to do any tier list. It's all painted..... but not by me. I bought around 3/4 of the collection when our PG passed away, his fiance at the time offered the models for sale to the local community so they would still see table time and could live on in the community. The rest I bought my self, and had it commissioned painted. Painting I really struggle with, I know I'm a weak painter and my attention span is low to go with it. But the Skorne have performed a small miracle and well..


I've painted stuff! I've got nearly my whole Makeda2 list all painted with just my min Incindarii and max Swordsmen left to do! I'm really chuffed with it, my love for the game is at new highs and it's really helped me push through and actually paint things. It may not be amazing, but hell on the table it looks okay and that's all I need.

I'm very excited to start attending events, I have a local steamroller on the 19th and the 25th March in which I'll be taking Morghoul1/Mordikaar and I'm hoping to win both.

Thanks for tuning in guys, I'm going to write a breakdown of my second Welsh Masters list soon so tune in for that! Follow me on twitter @PGSad_Pander for updates on my painting, practice games and event scores!

Thursday, 23 July 2015

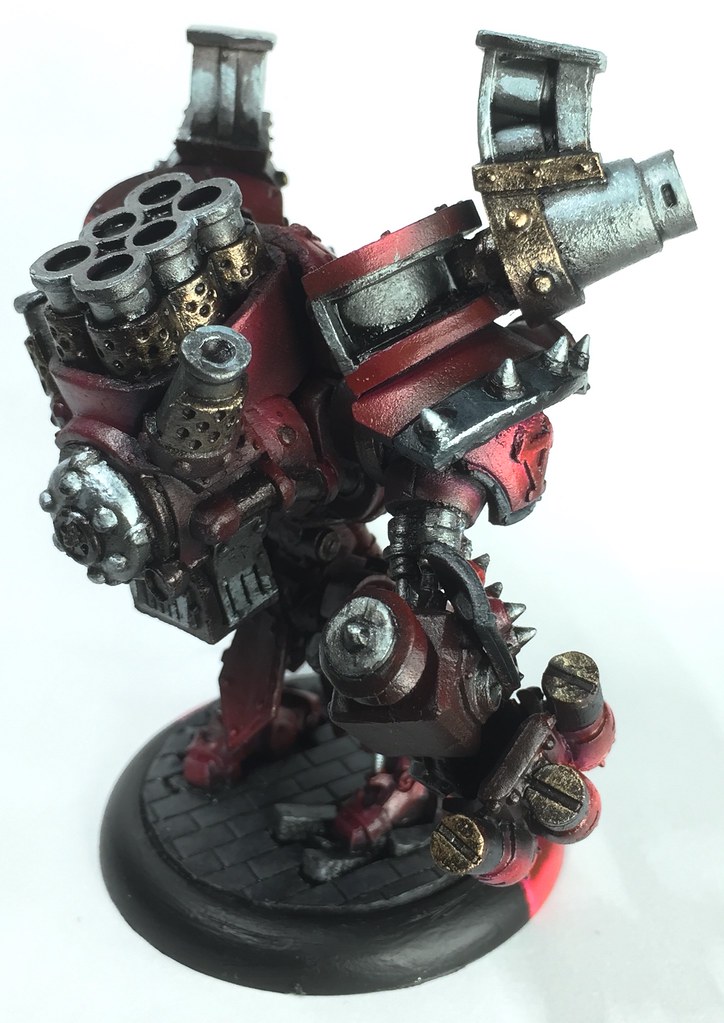
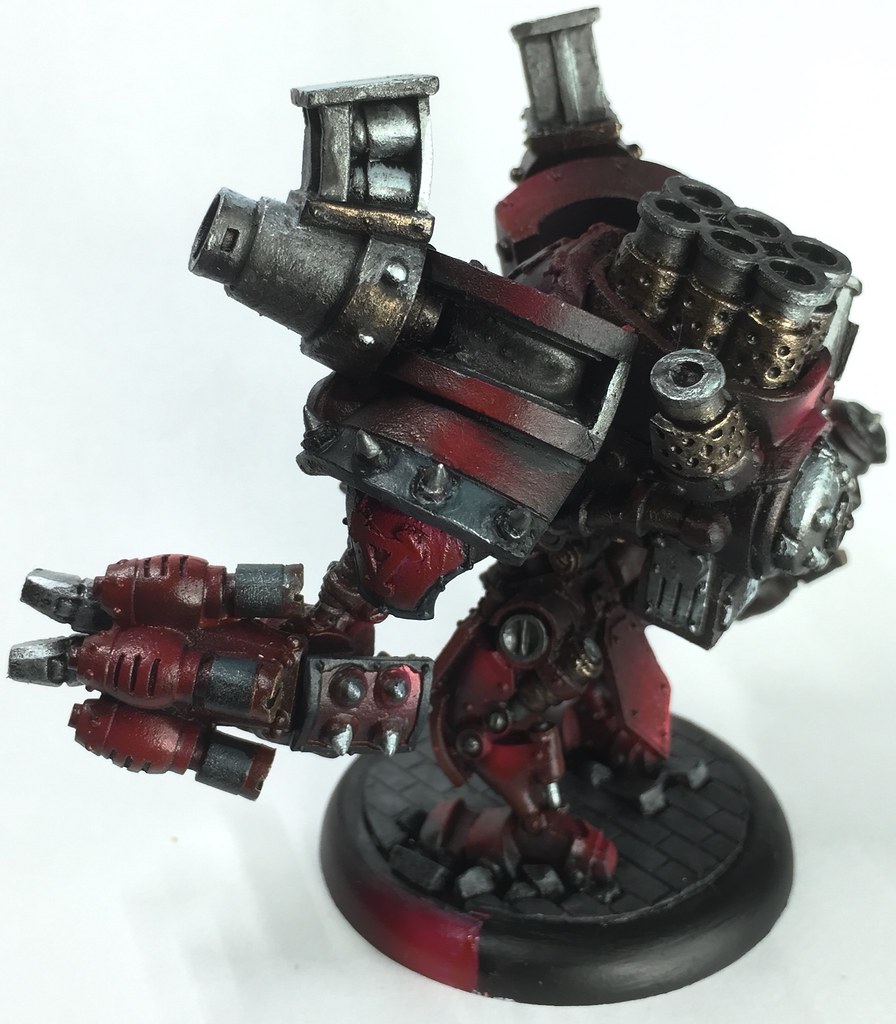
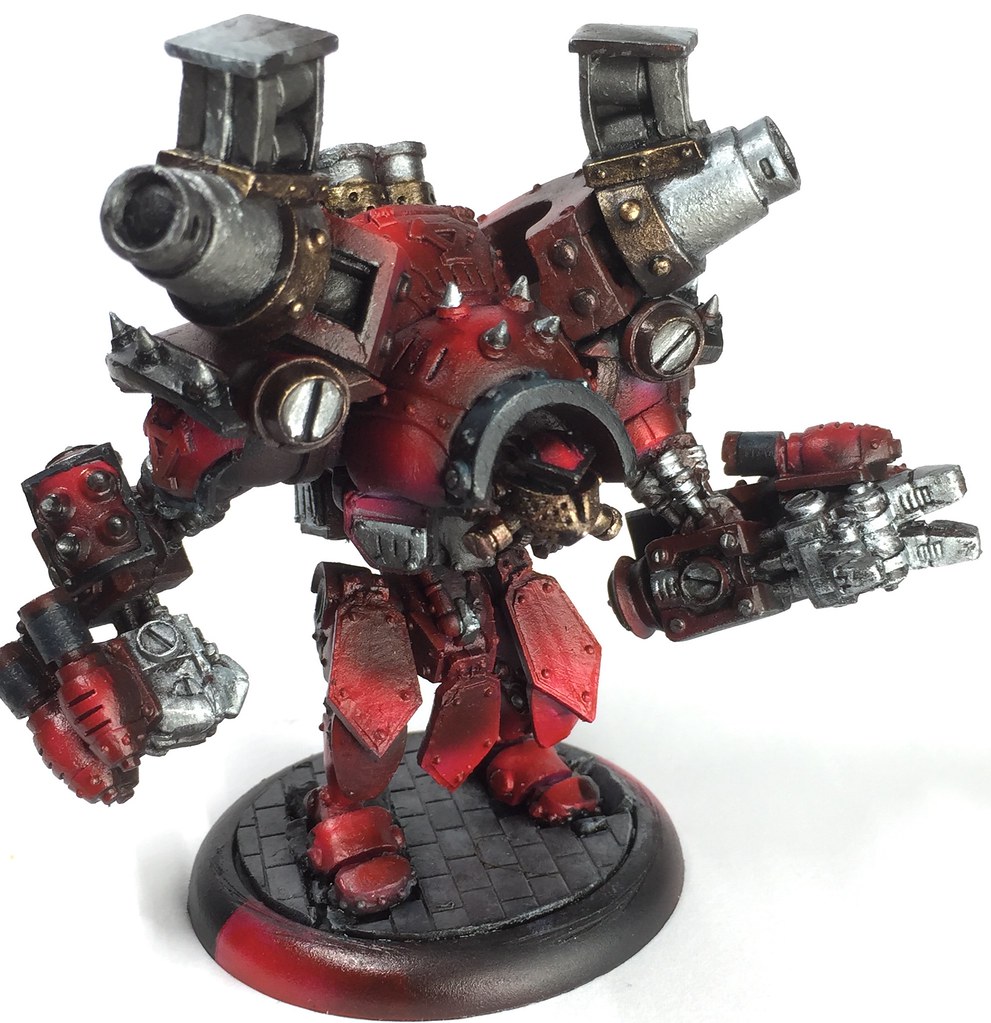
Painting Big B

Hi All,

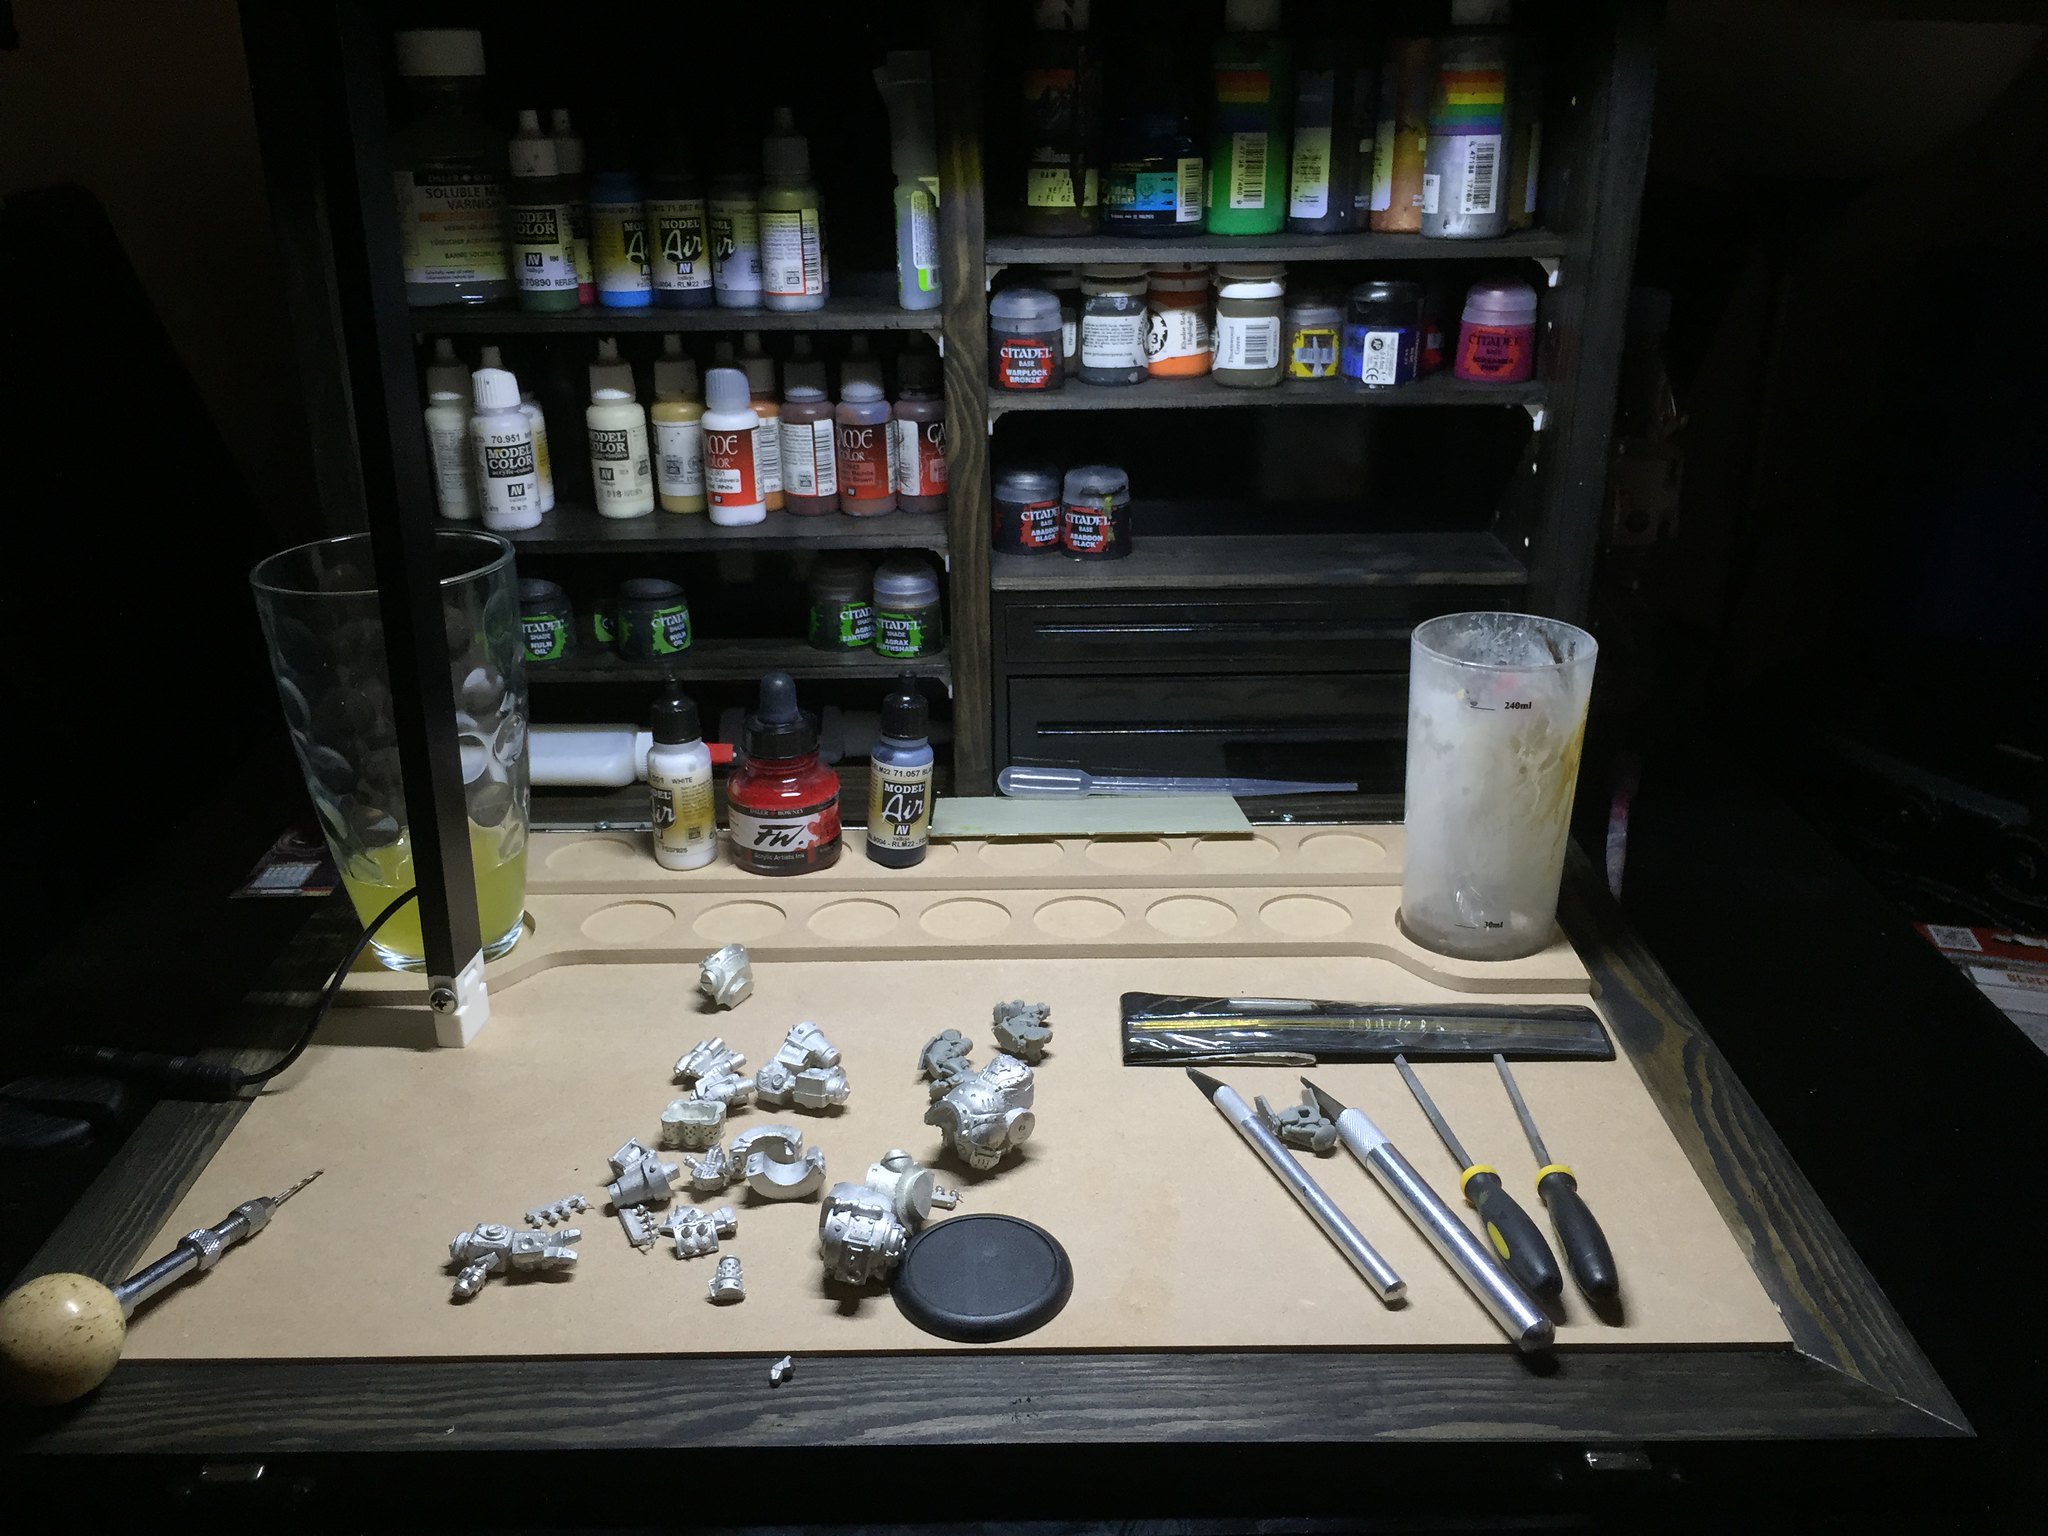
So following on from the review of the Illumistation painting station I received for my birthday I decided I should actually paint something so here is a little painting review/guide for the real Khador big boy, Behemoth!

Behemoth from parts to powerful

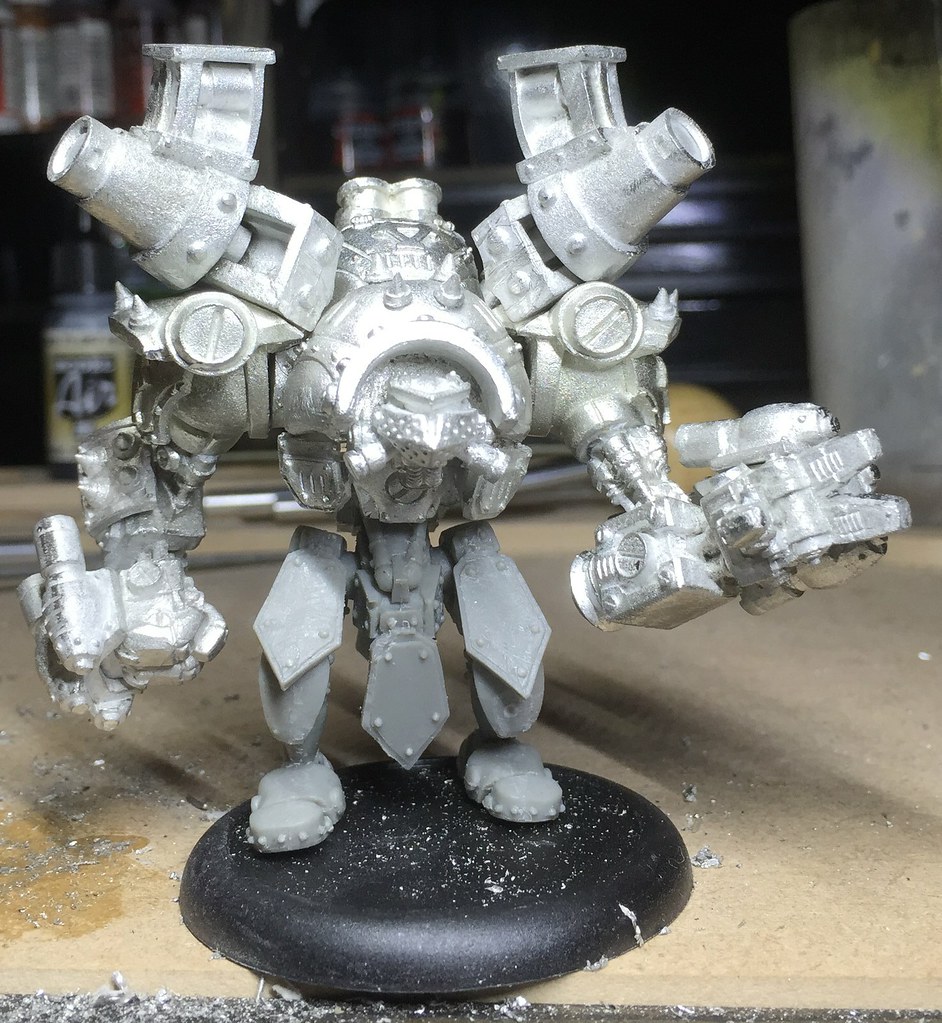
Firstly came the bog standard filing of all mold lines and general first fitting. This led me to the conclusion that pinning was going to be a necessary evil. Although its an easy job (with a dremel and Privateer Press pinning kits), it is yet another job before the painting starts. As you can see below I have made the bold (not that bold) decision to swap out the original Behemoth legs for a bog standard pair of plastic jack legs.


Behemoth from parts to powerful


I think the legs take away the dancing, hops, skip and jumping weird look of the original sculpt. This does however add a more of a static feel, but I feel a little compromise here will both add to the over all menace of the sculpt and draw the eye up towards all the more interesting arms and bombards on the shoulders.

Behemoth from parts to powerful

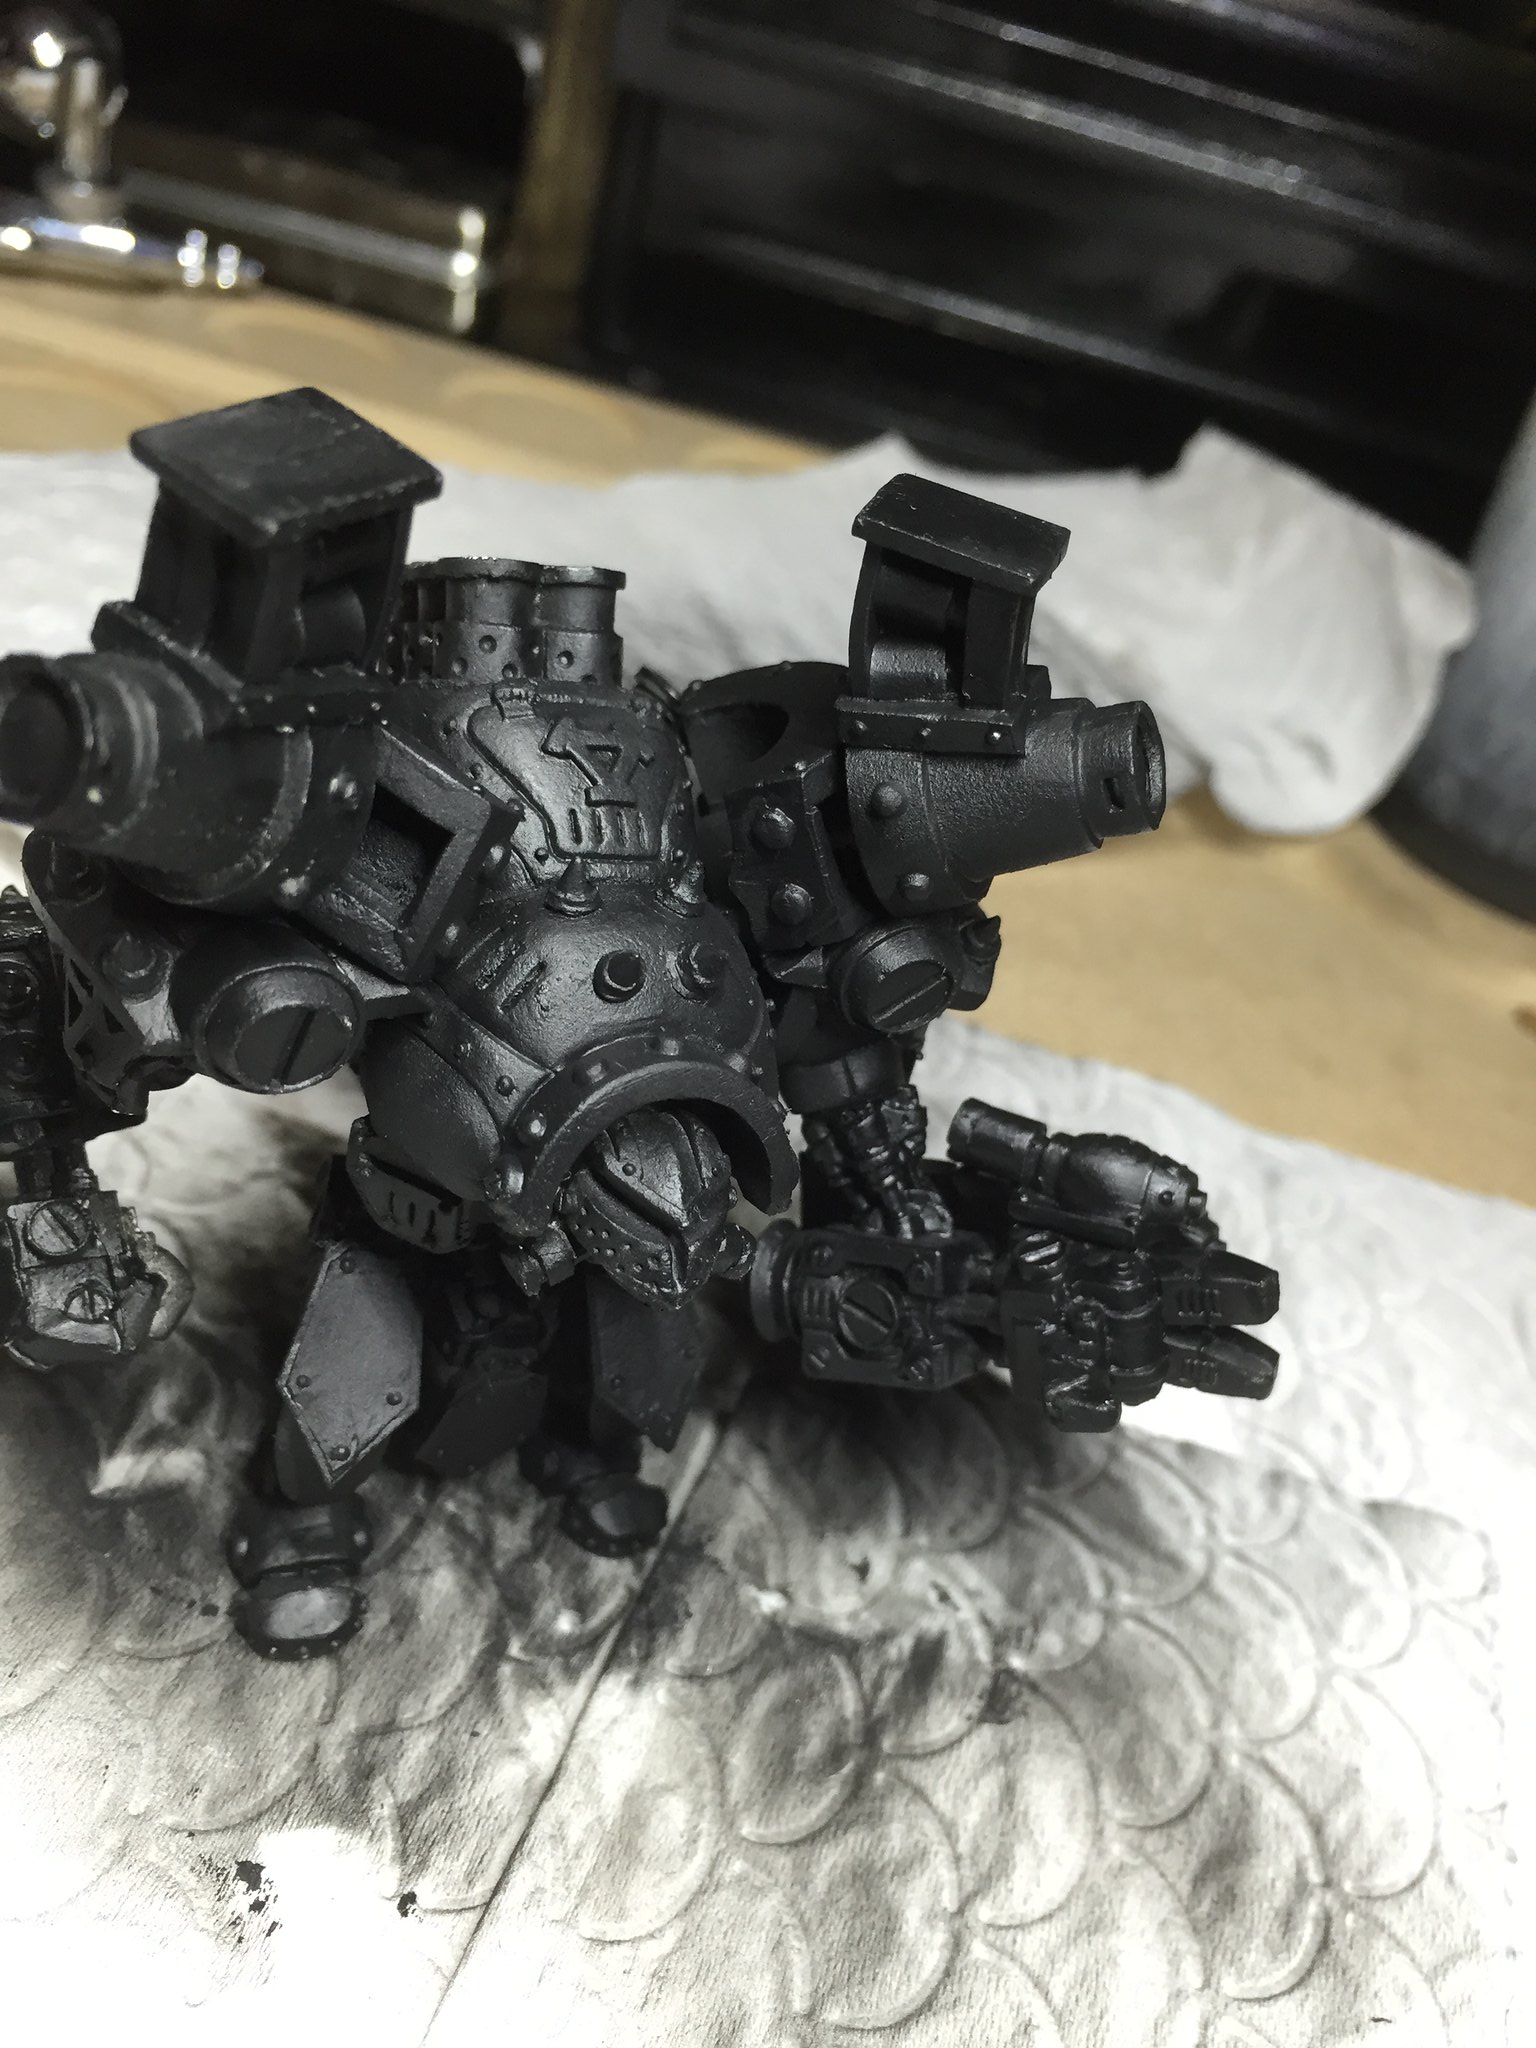
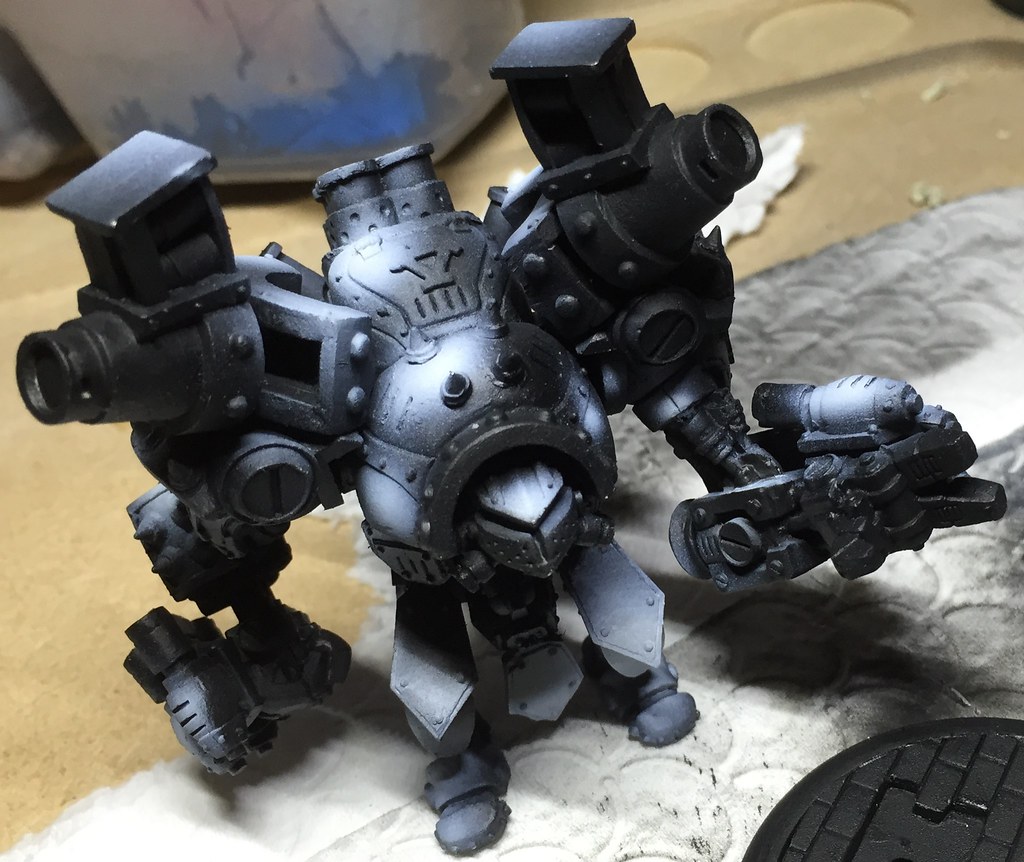
A small amount of Vallejo model air black primer in the airbrush later and Big B certainly is on the way to looking like a badass.

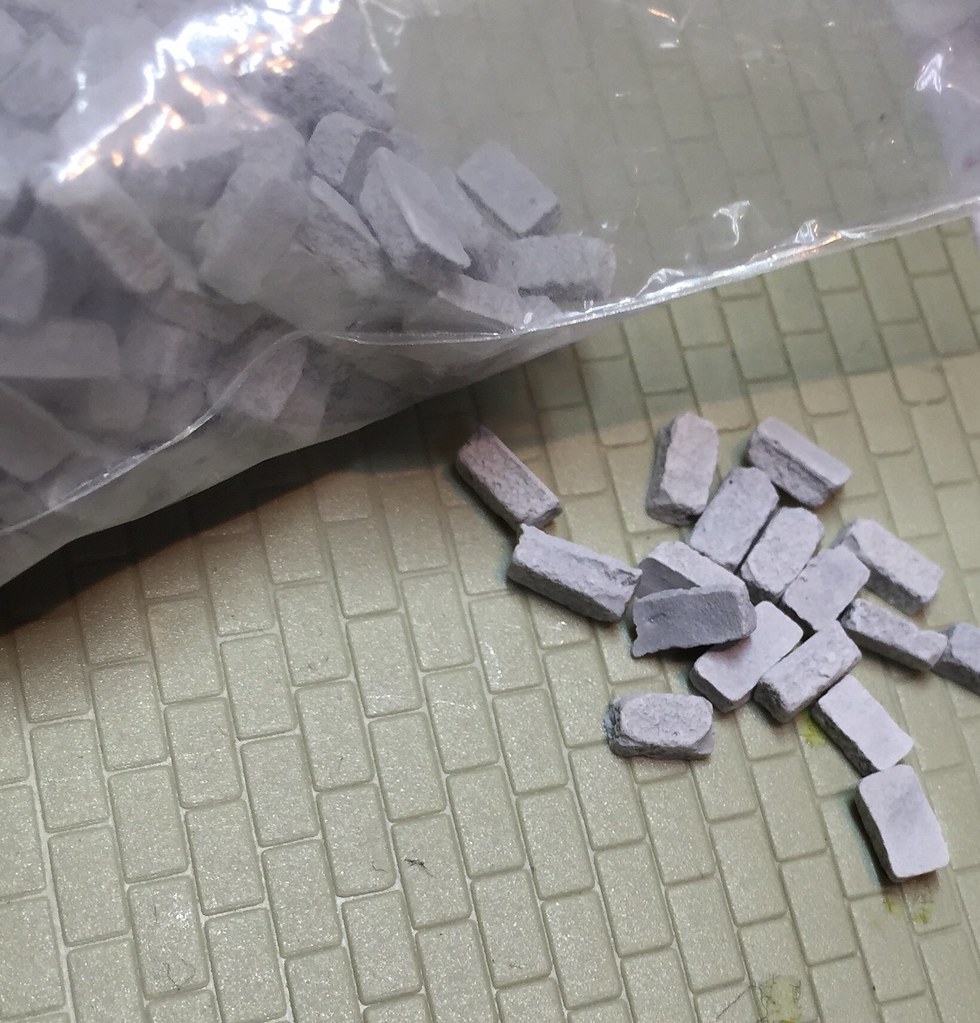
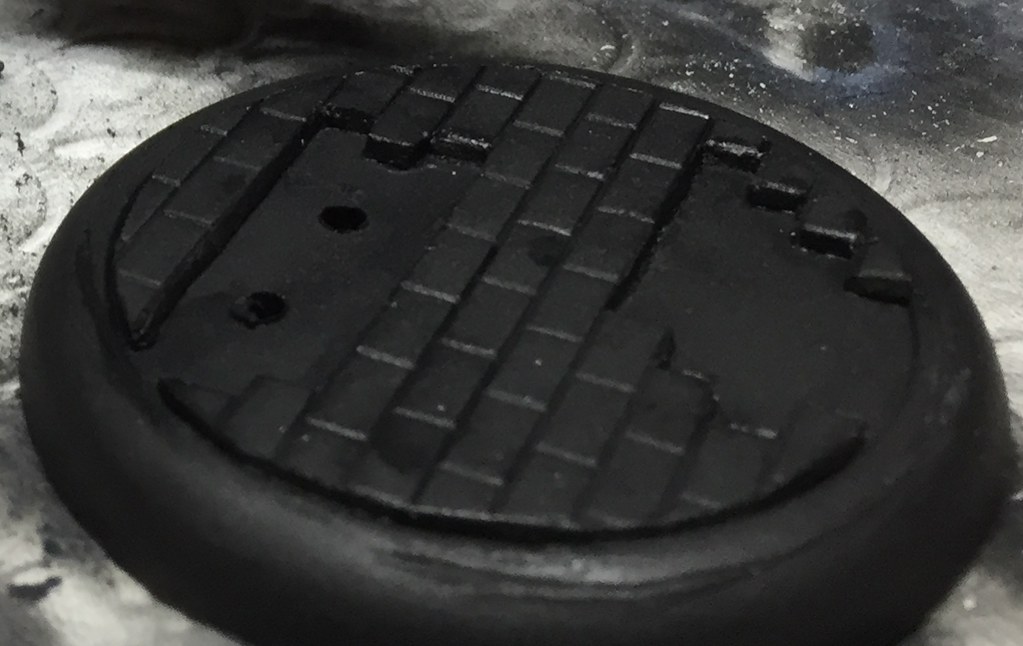
At this point, before its onto painting proper I thought I had better sort out something a bit fun for the base before its too late. So I grabbed some plastic-card brick design template and a handful of these small bricks and got to work! After cutting out a suitable circle of the plastic-card I put the model on it to mark out where the feet are going to be.

Untitled

I then cut out the feet, stuck the card to the base as below 


Behemoth from parts to powerful

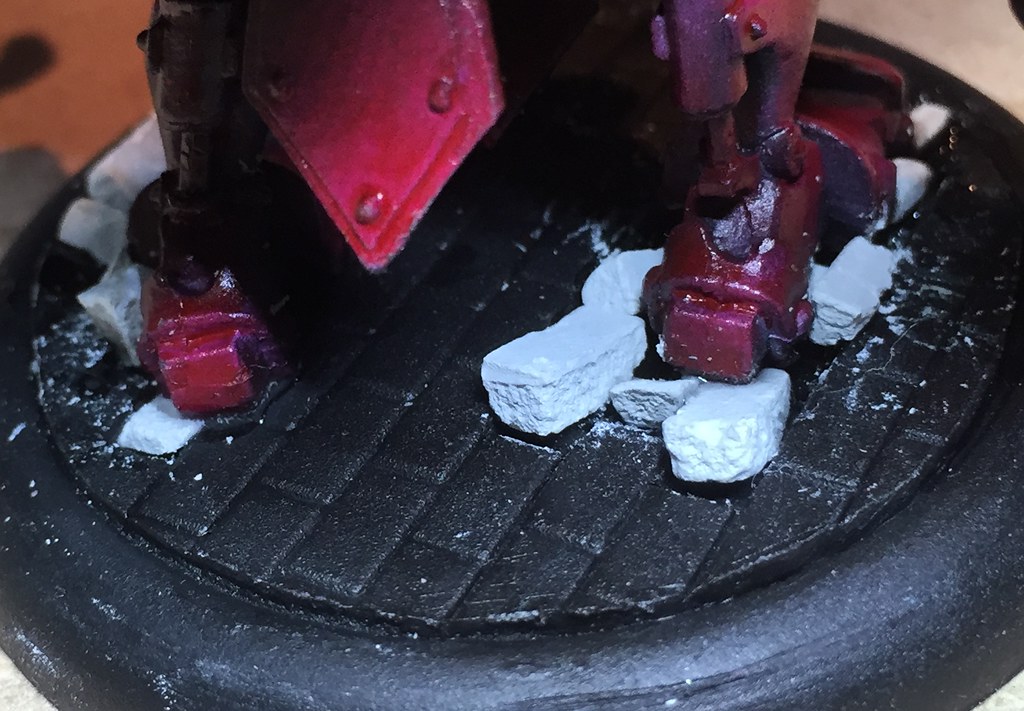
and then it was time to stick on the bricks to the base in a way that makes it look like the jack was so heavy the weight of a 6 ton jack would crush the bricks!

Behemoth from parts to powerful

This was done by using a scalpel to slice and break up the bricks. I then glued them in and undercoated them.  But I'm getting ahead of myself!!!

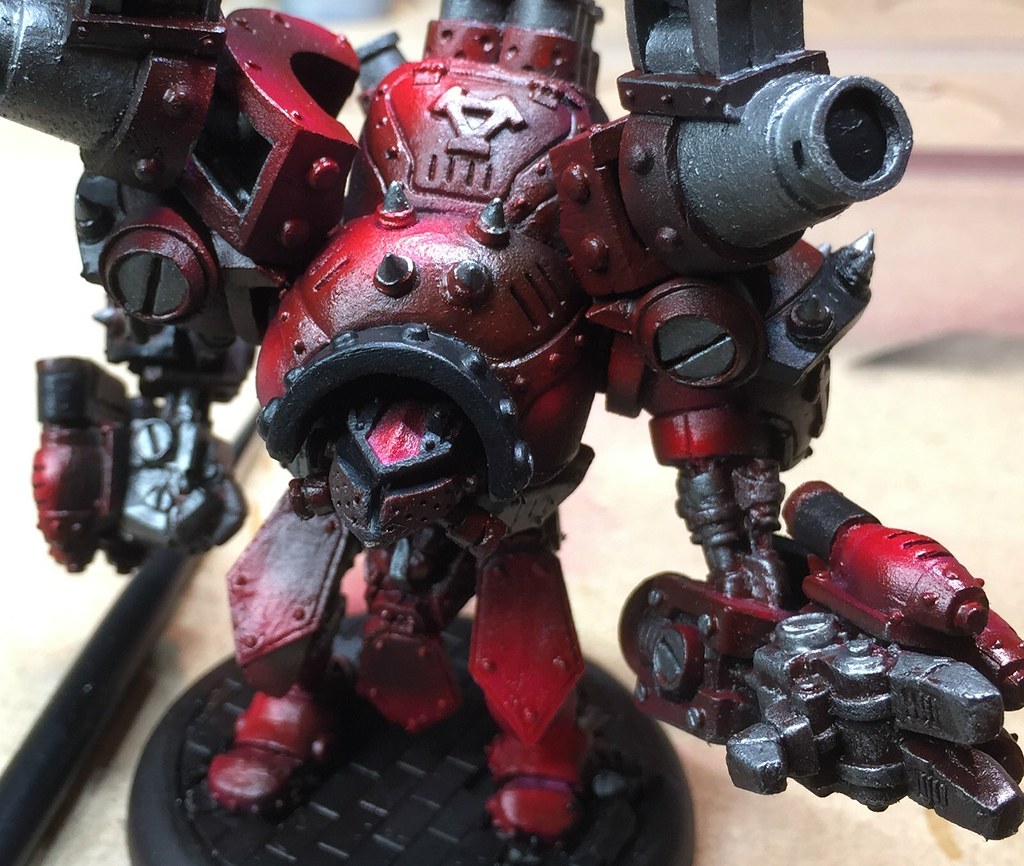
So its now time for painting time of Big B, so I just simply used some model air white through the air brush to add any highlights on the red parts of the amour as below

Behemoth from parts to powerful

then its time to spray on some red ink. This covers not only the white with a strong bright red, but leaves the black with a subtle dark red tint. Then I painted all the metal bits a mix of Vallejo steel and black. The black parts were painted black.

Behemoth from parts to powerful

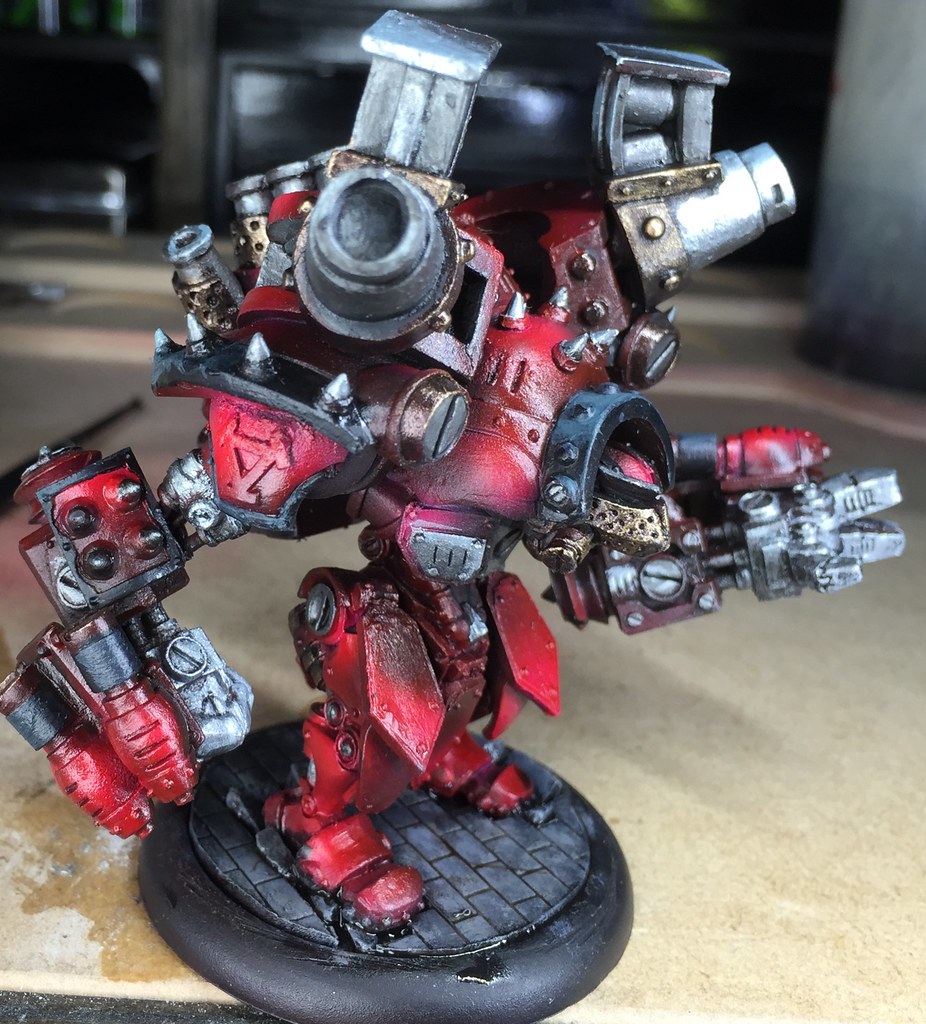
Then it was time to paint the bronze parts GW warpstone bronze. That meant that all the base colours were completed and it was time to get my highlight on!

Behemoth from parts to powerful

So I kept the highlights nice and simple. Vallejo steel for the silver highlights, Vallejo bronze for the bronze parts, and a mixture of black, blue and green for the black highlights. giving a slightly cooler grey colour. 
The base was painted black and then 2 different shades of grey were applied to give a bit of texture to the base I stippled the grey on using an old medium size dry brush. Once dry, I applied a wash of Agrax Earthshade to the base to take the edge off the lighter grey. To mark the arc on the base I masked off the base with bluetac and used the same white highlight and red ink technique used on the armour. Then I just airbrushed on some matt varnish and the work was done.

Untitled


Untitled


Untitled


I hope you enjoyed this little ramble. Please feel free to post any comments or criticisms. I'm looking to improve so any help is much appreciated. 

Stay Classy

Double Epic Tom 
Westwood Woodwork Illumistation Review

This month has seen the celebration of another year that I have managed to avoid deaths warm embrace, and as such my better half has gifted me the above mentioned painting station made by the very talented people at Westwood Wordworks.
In all honesty I think this was for her sanity a little more than for my painting, but a thoughtful gift is still a thoughtful gift no matter what the sneaky upsides are. So now all my painting equipment can be contained to one tidy, smart looking space.

Paintstation
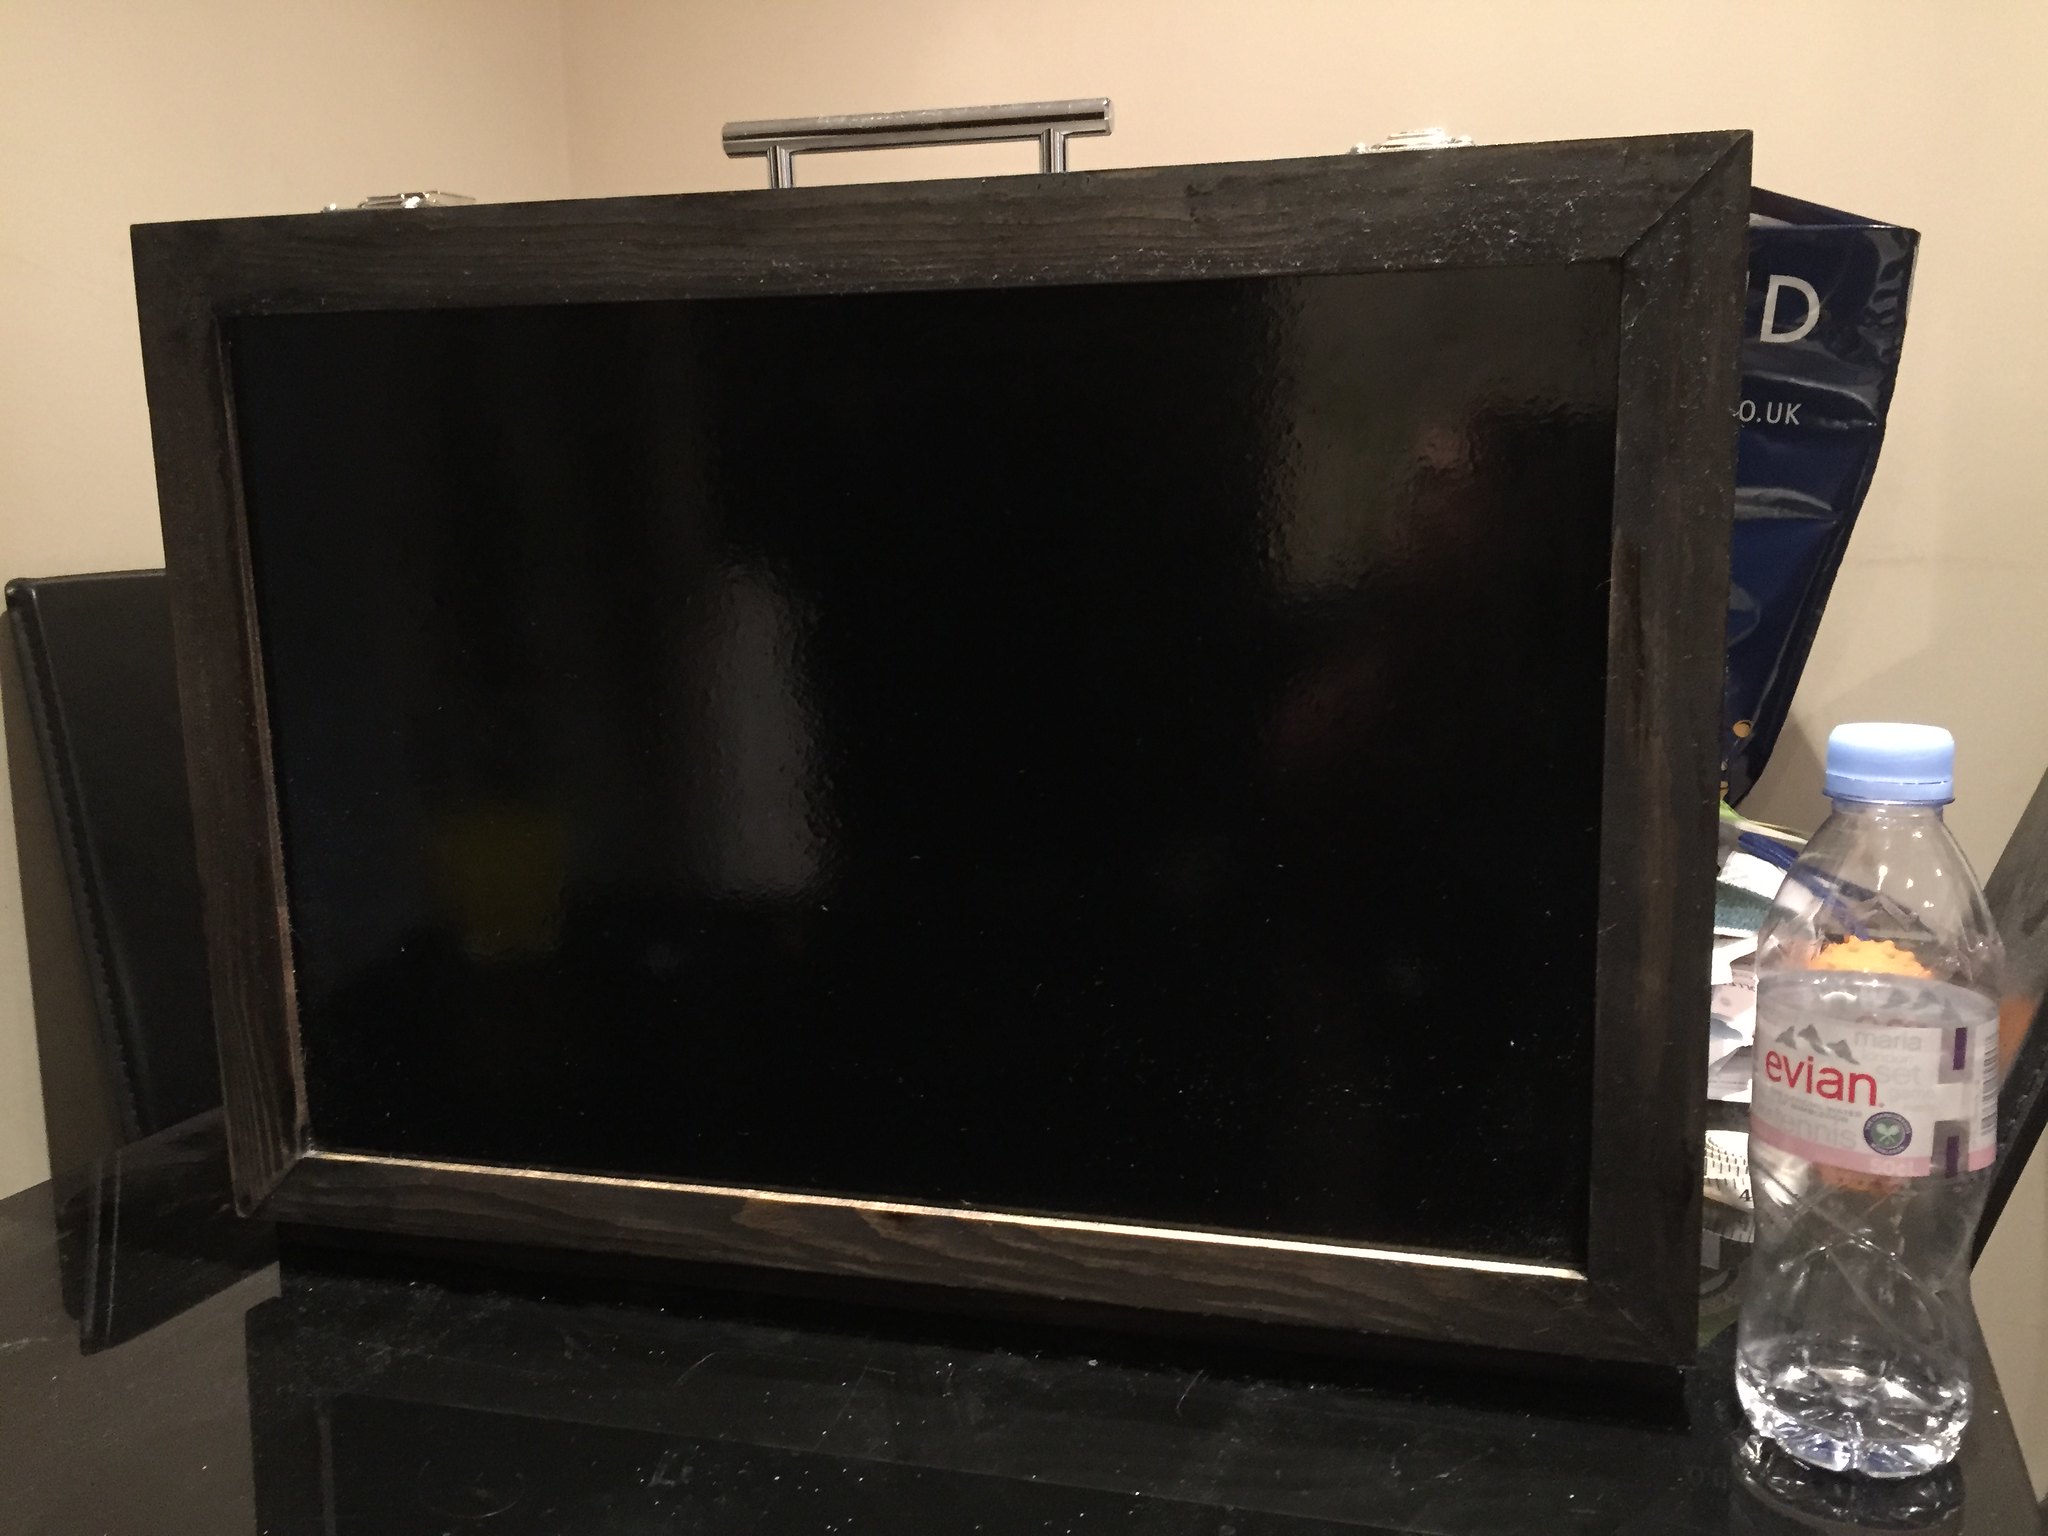
When the box arrived through the post I was instantly impressed by the careful packaging (lots of bubblewrap, that kept Carla happy!). The paint station is definitely a smart option for those that are looking for an adaptable and easy to use self contained painting area. The Redwood Pine which is stained black is a very striking and handsome thing that is for sure!

Behemoth from parts to powerful Behemoth from parts to powerful
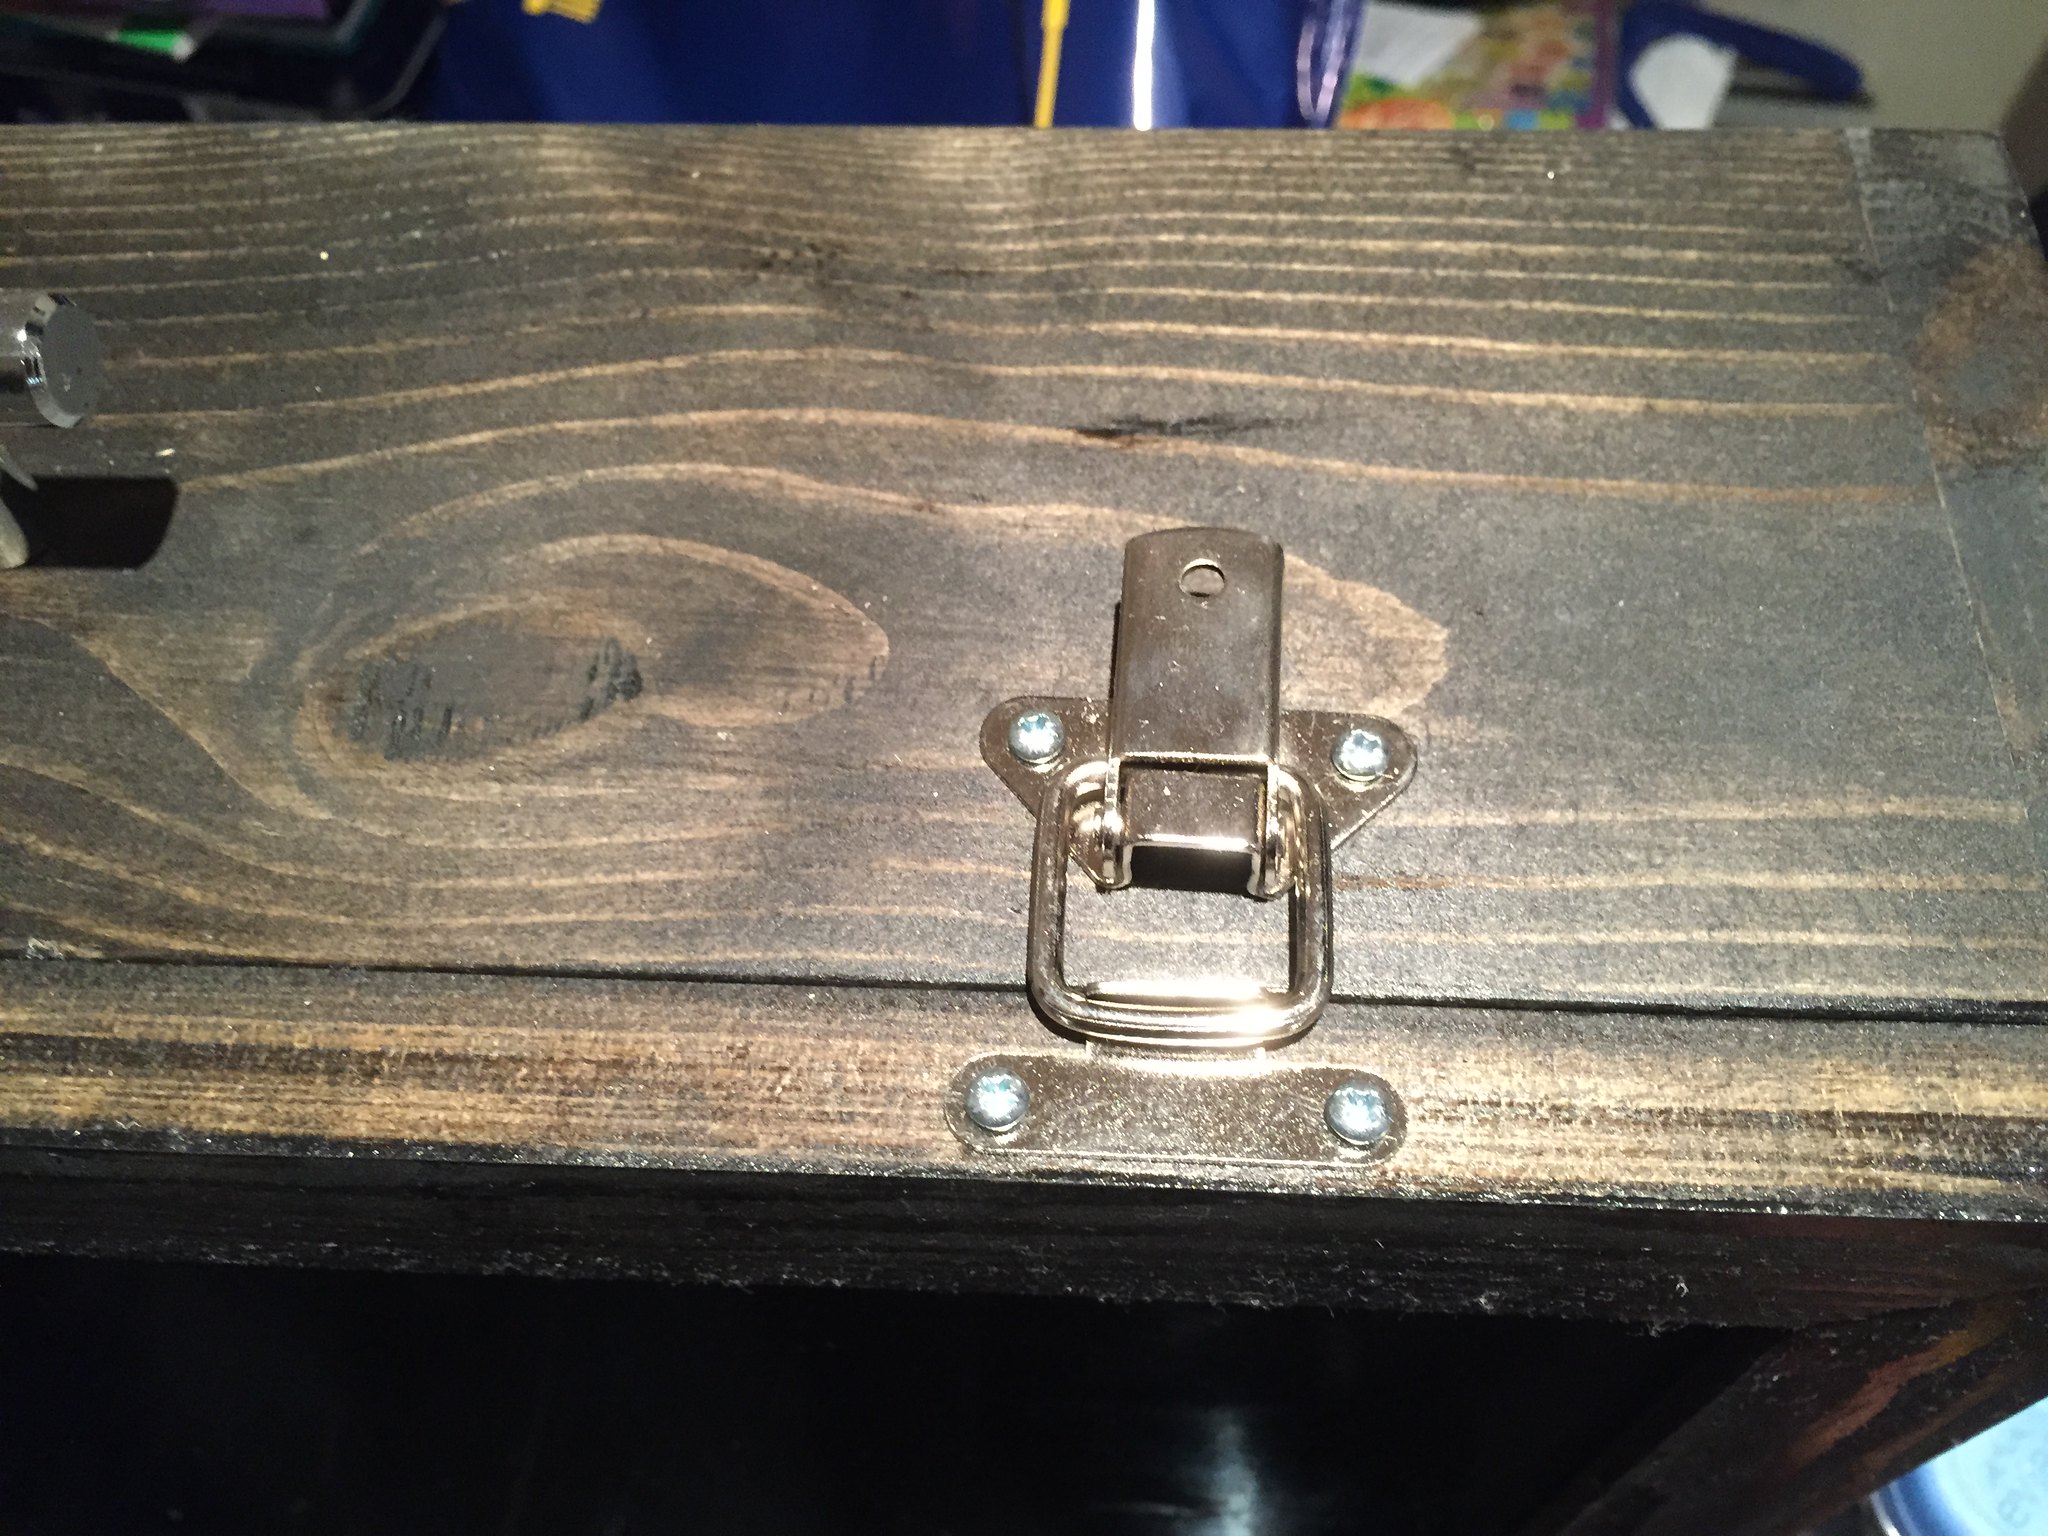
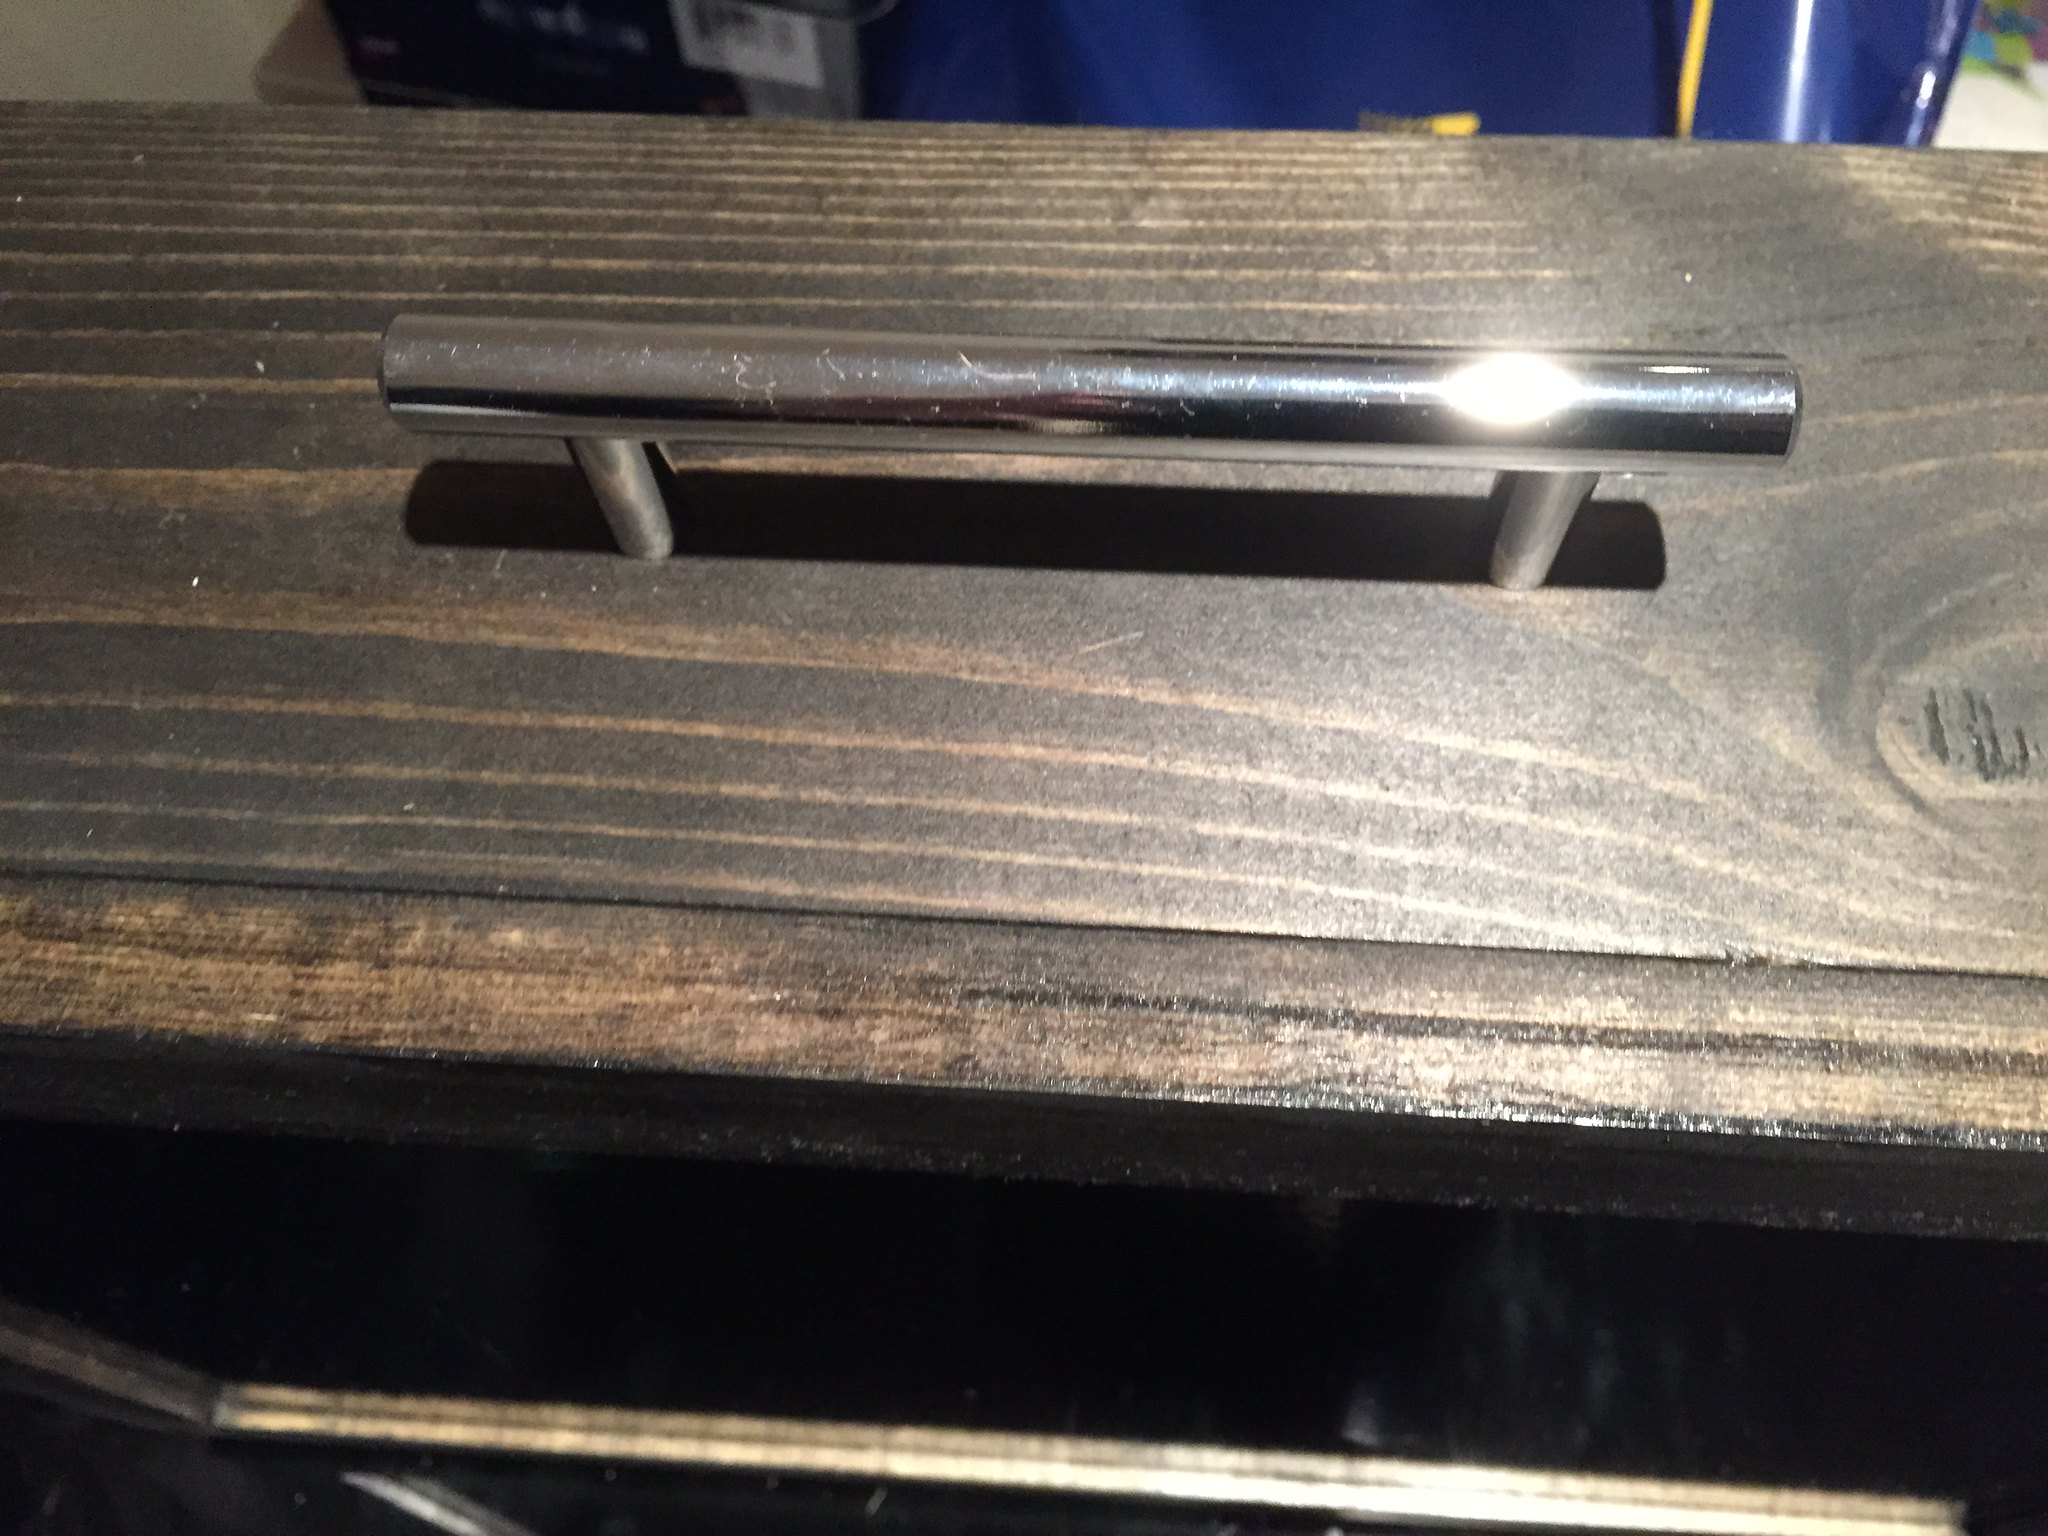
As you can see from the above pictures that heavy duty handle and clasps on the top of the box give both a professional finish and a very secure feeling when moving the station. Plus the piano hinges on the front make for a smooth opening and secure front.

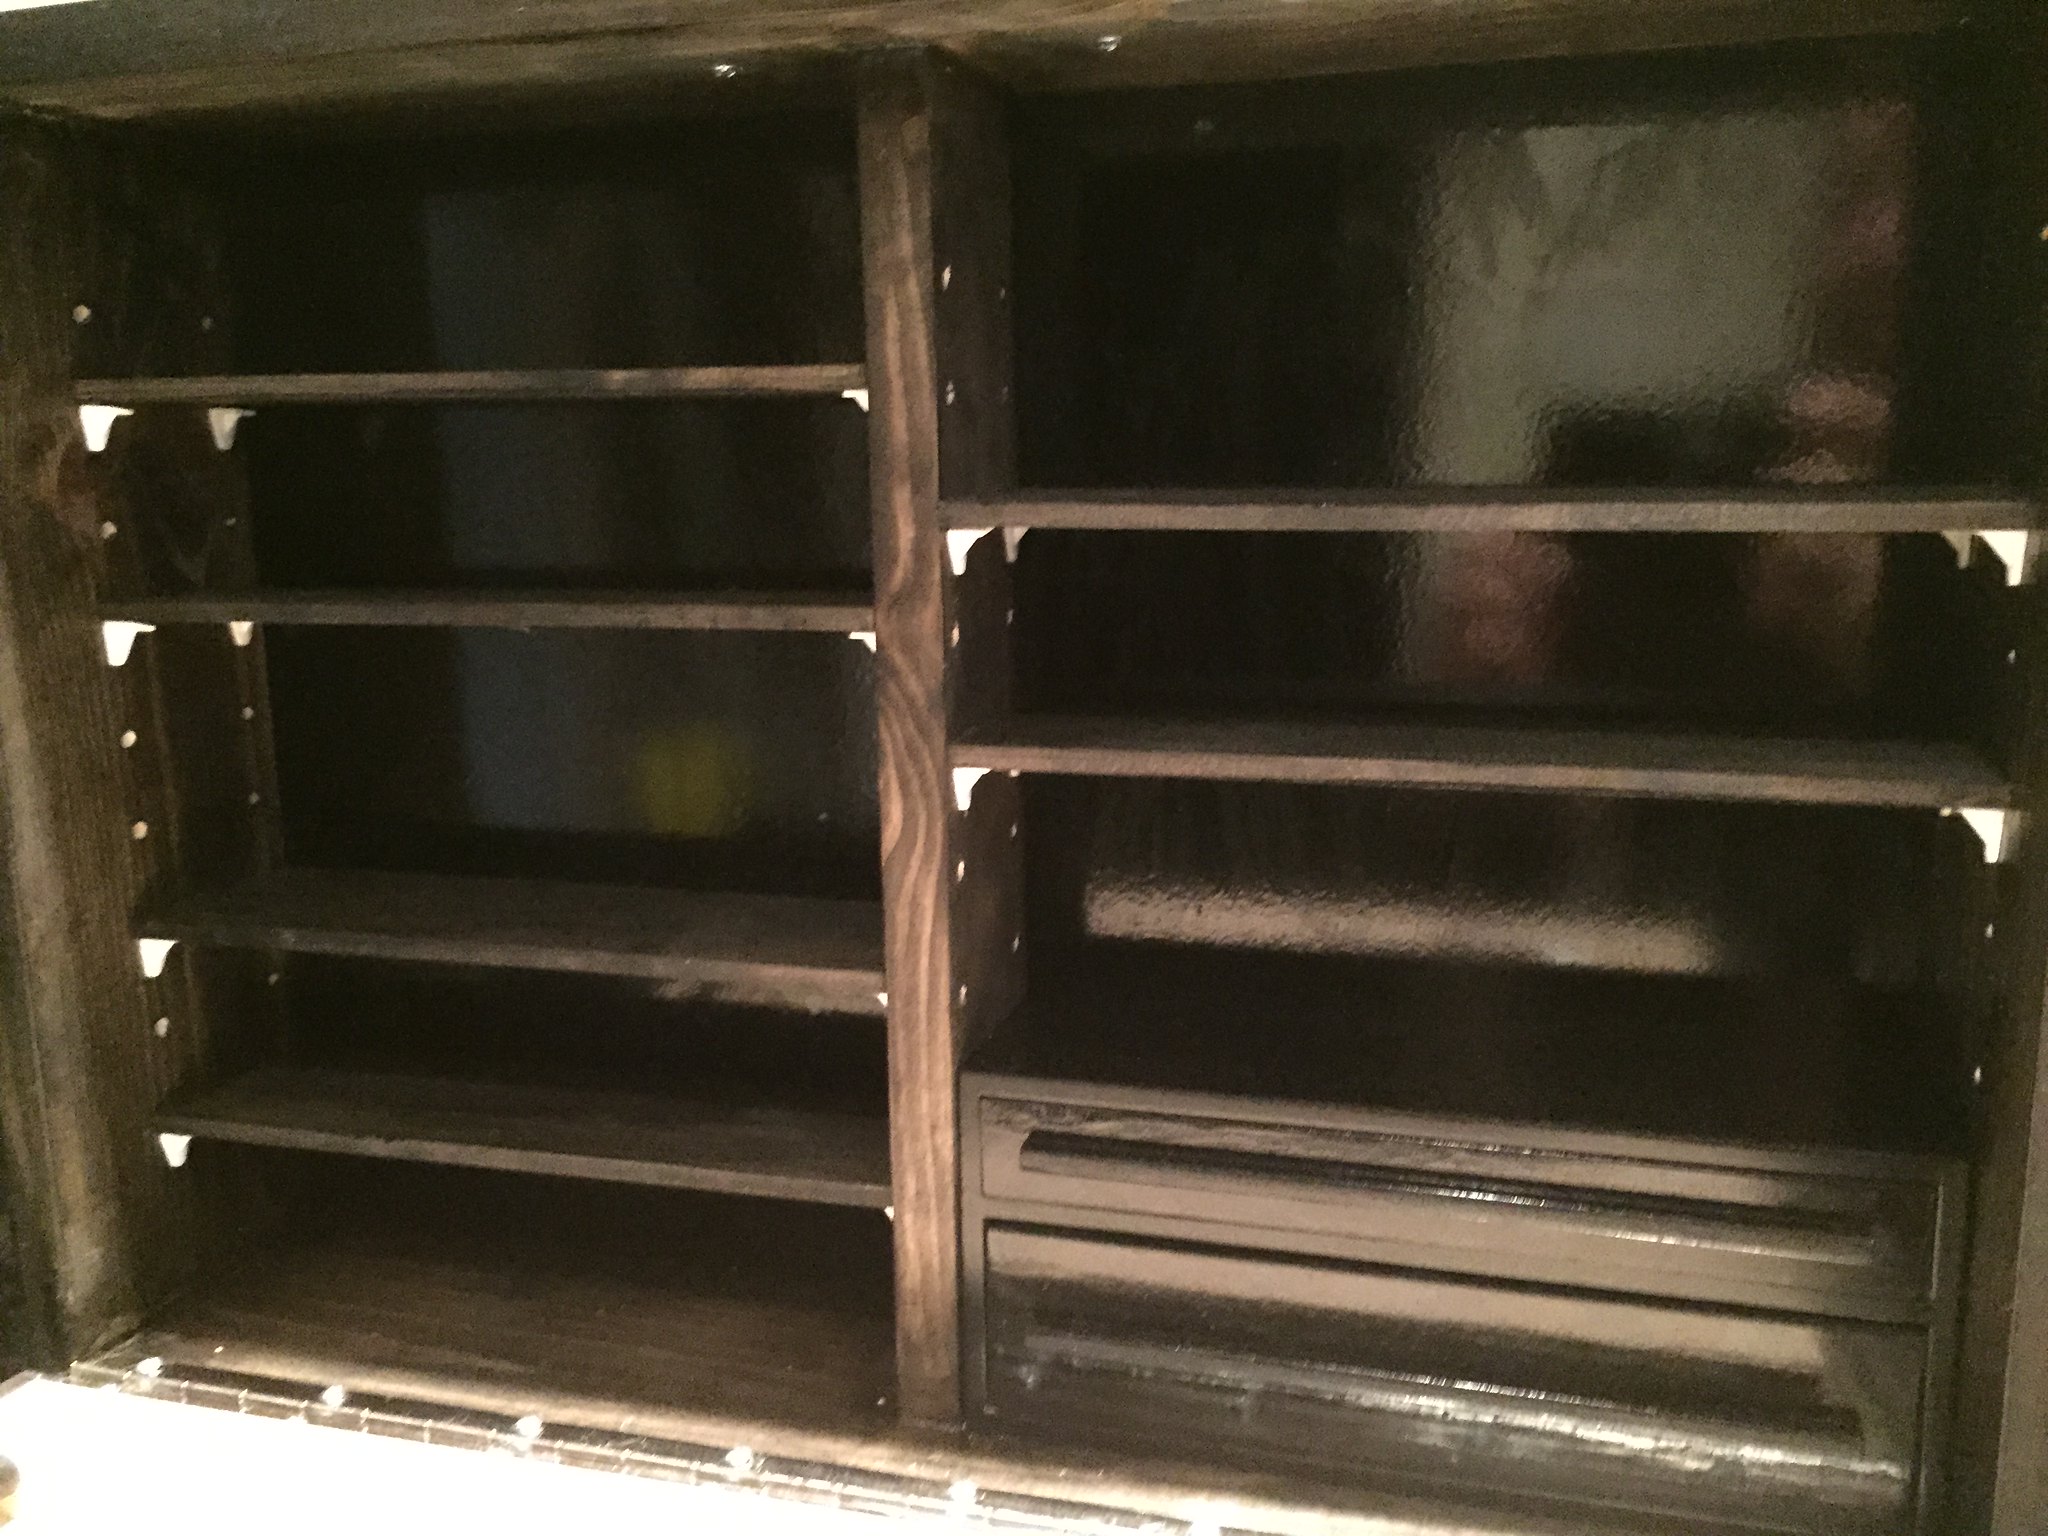
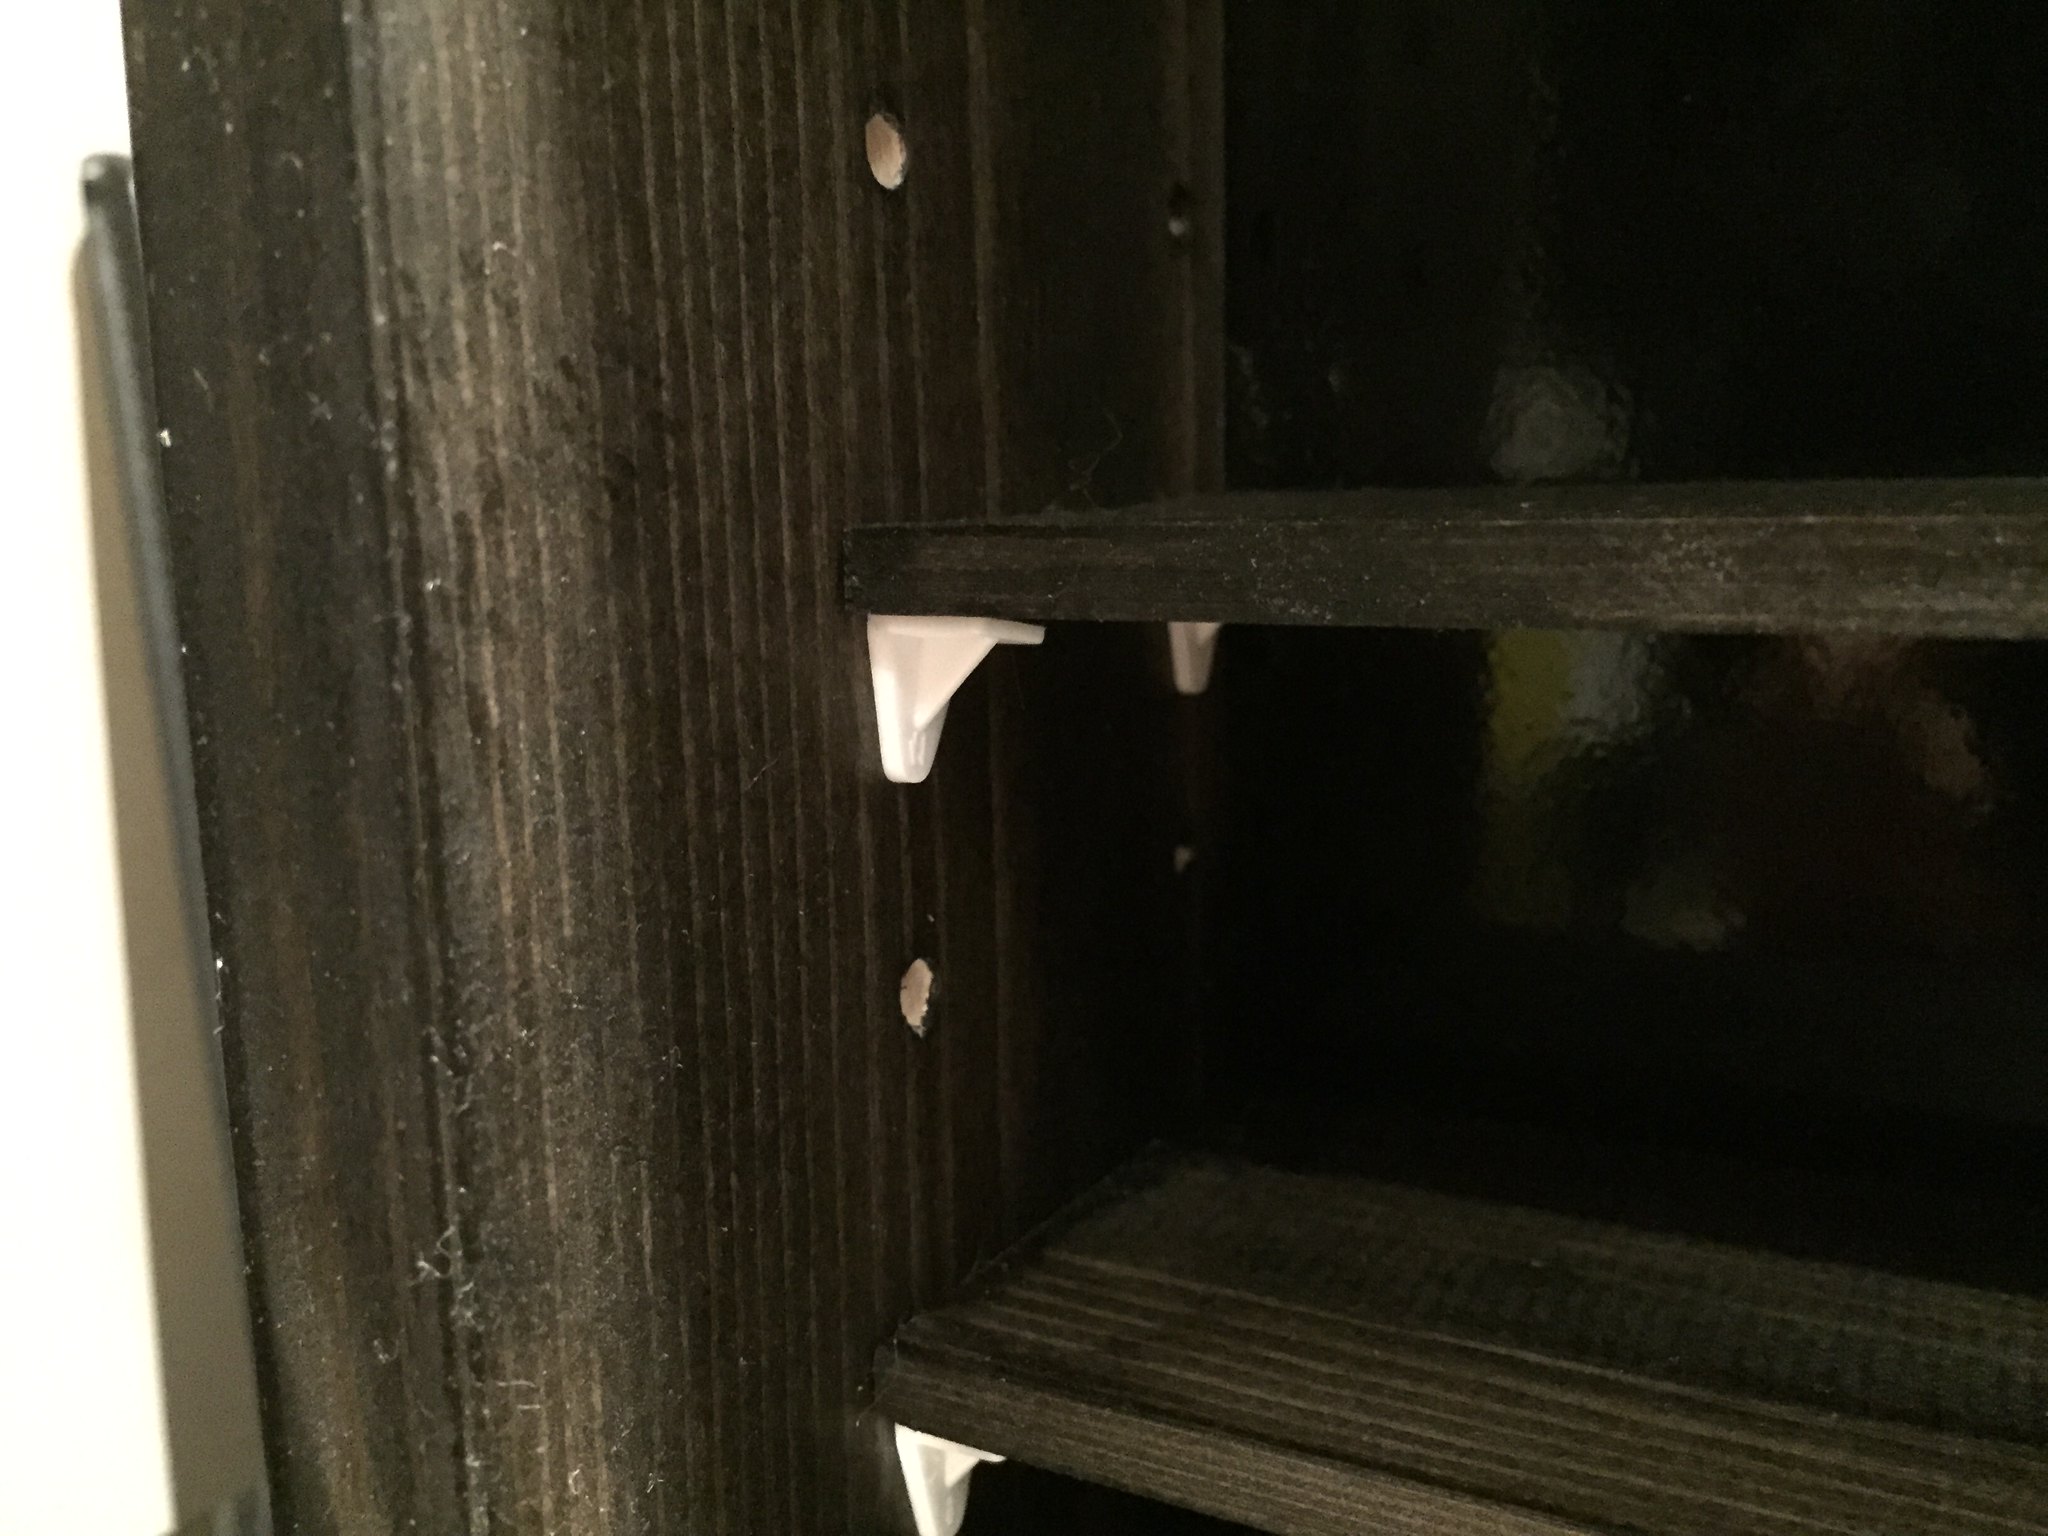
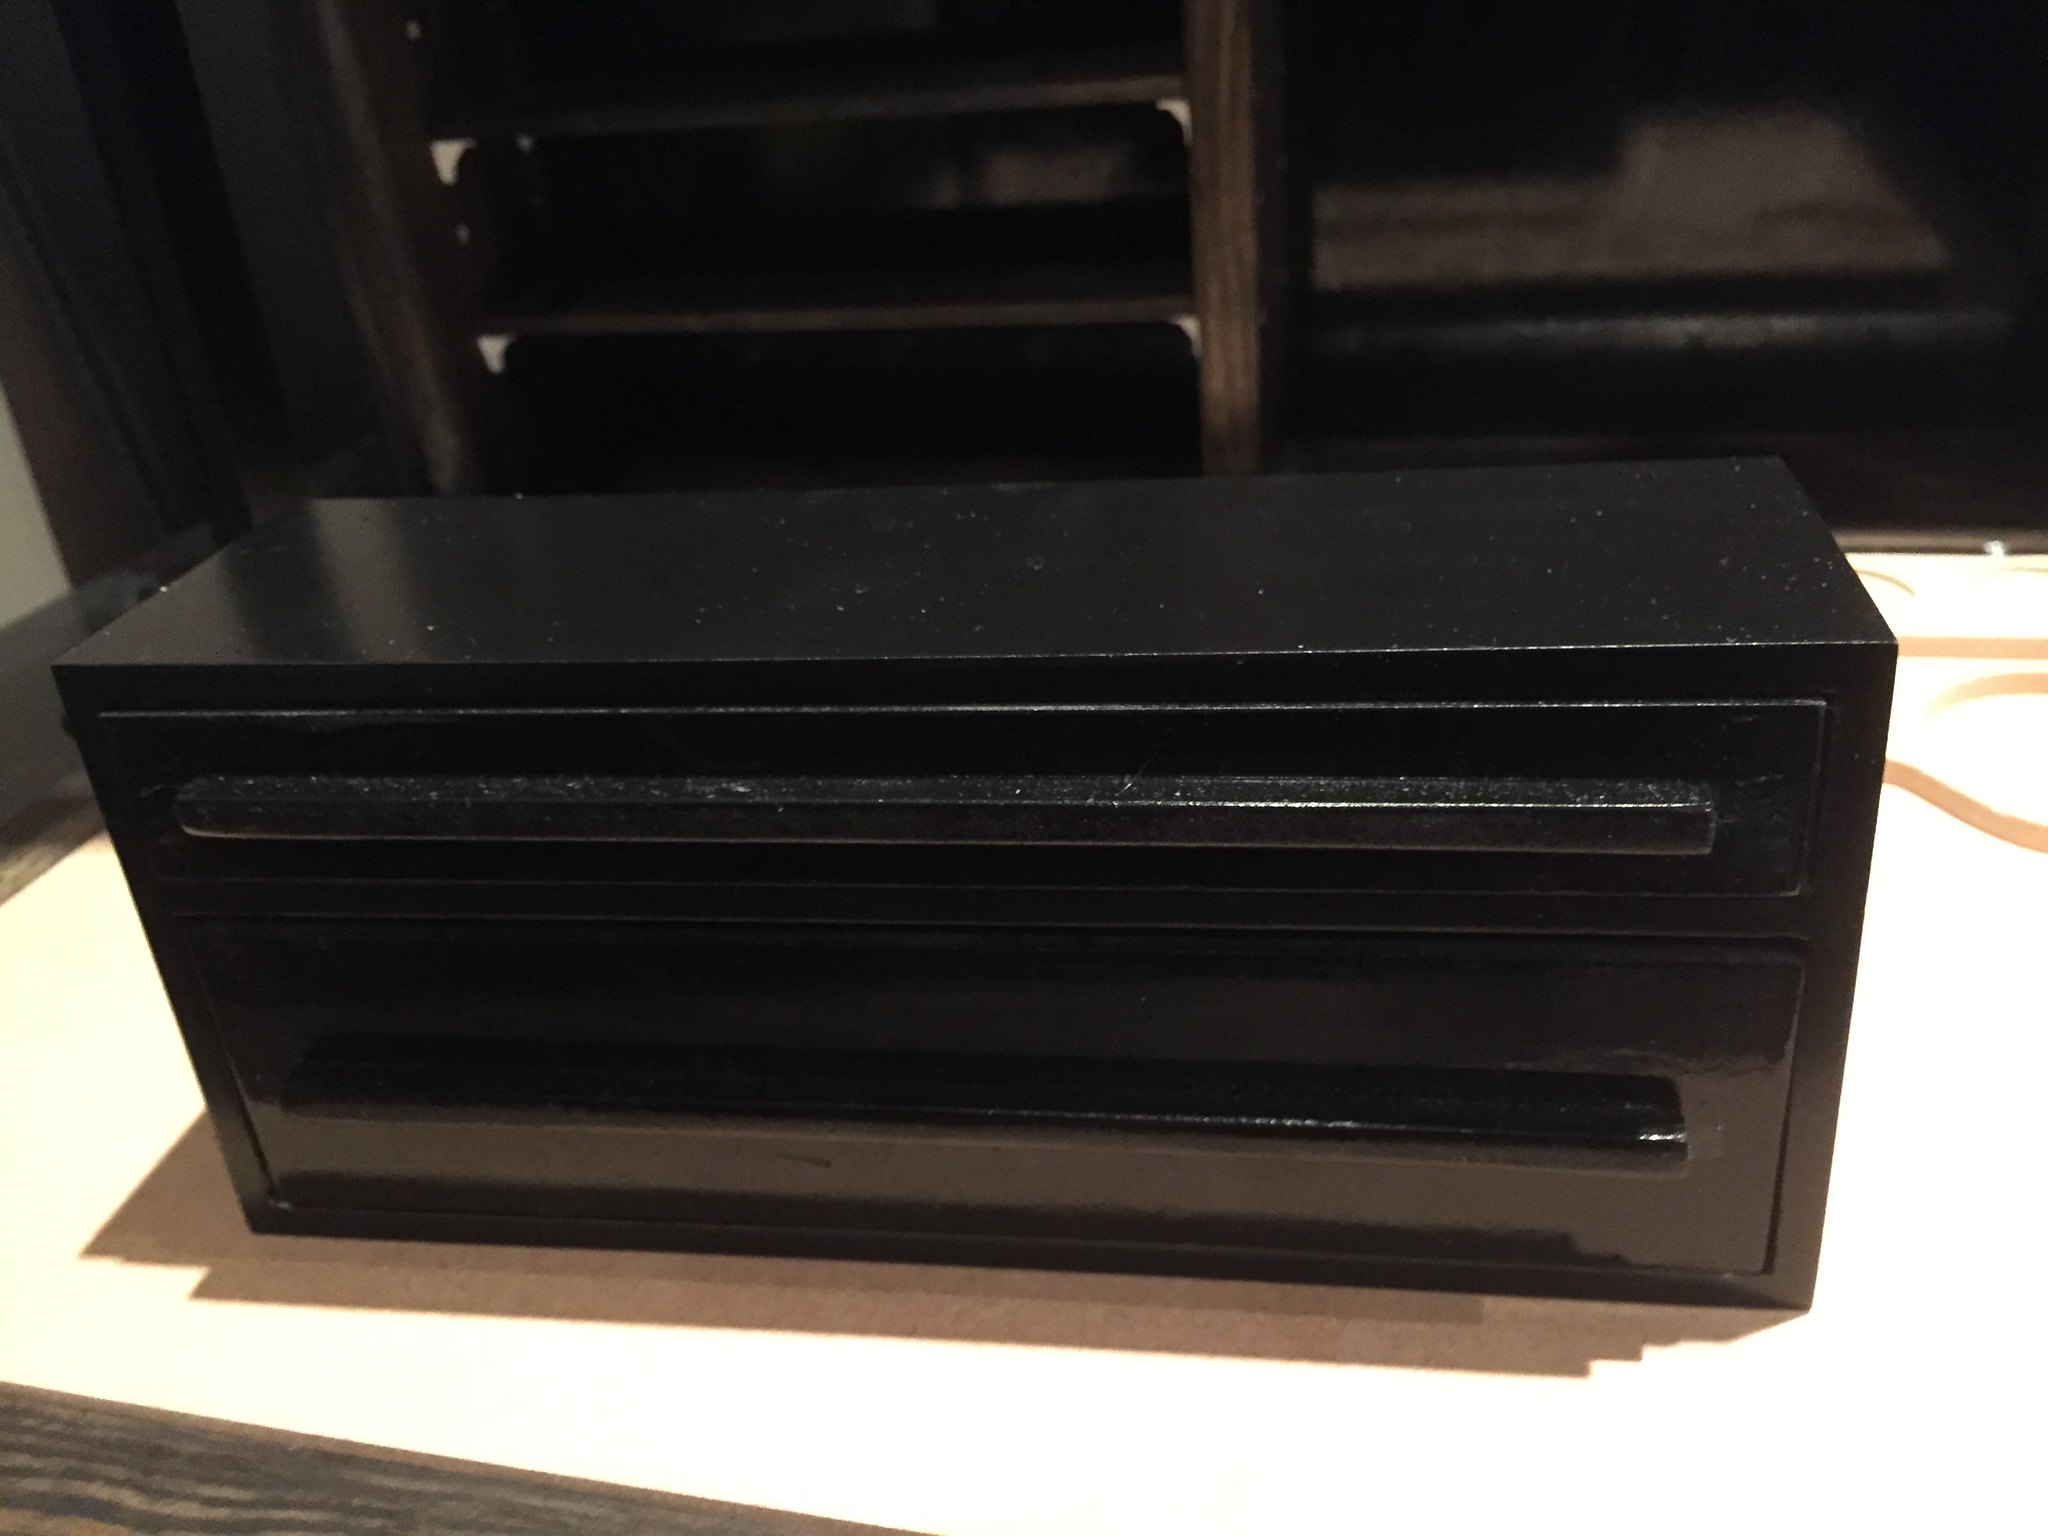
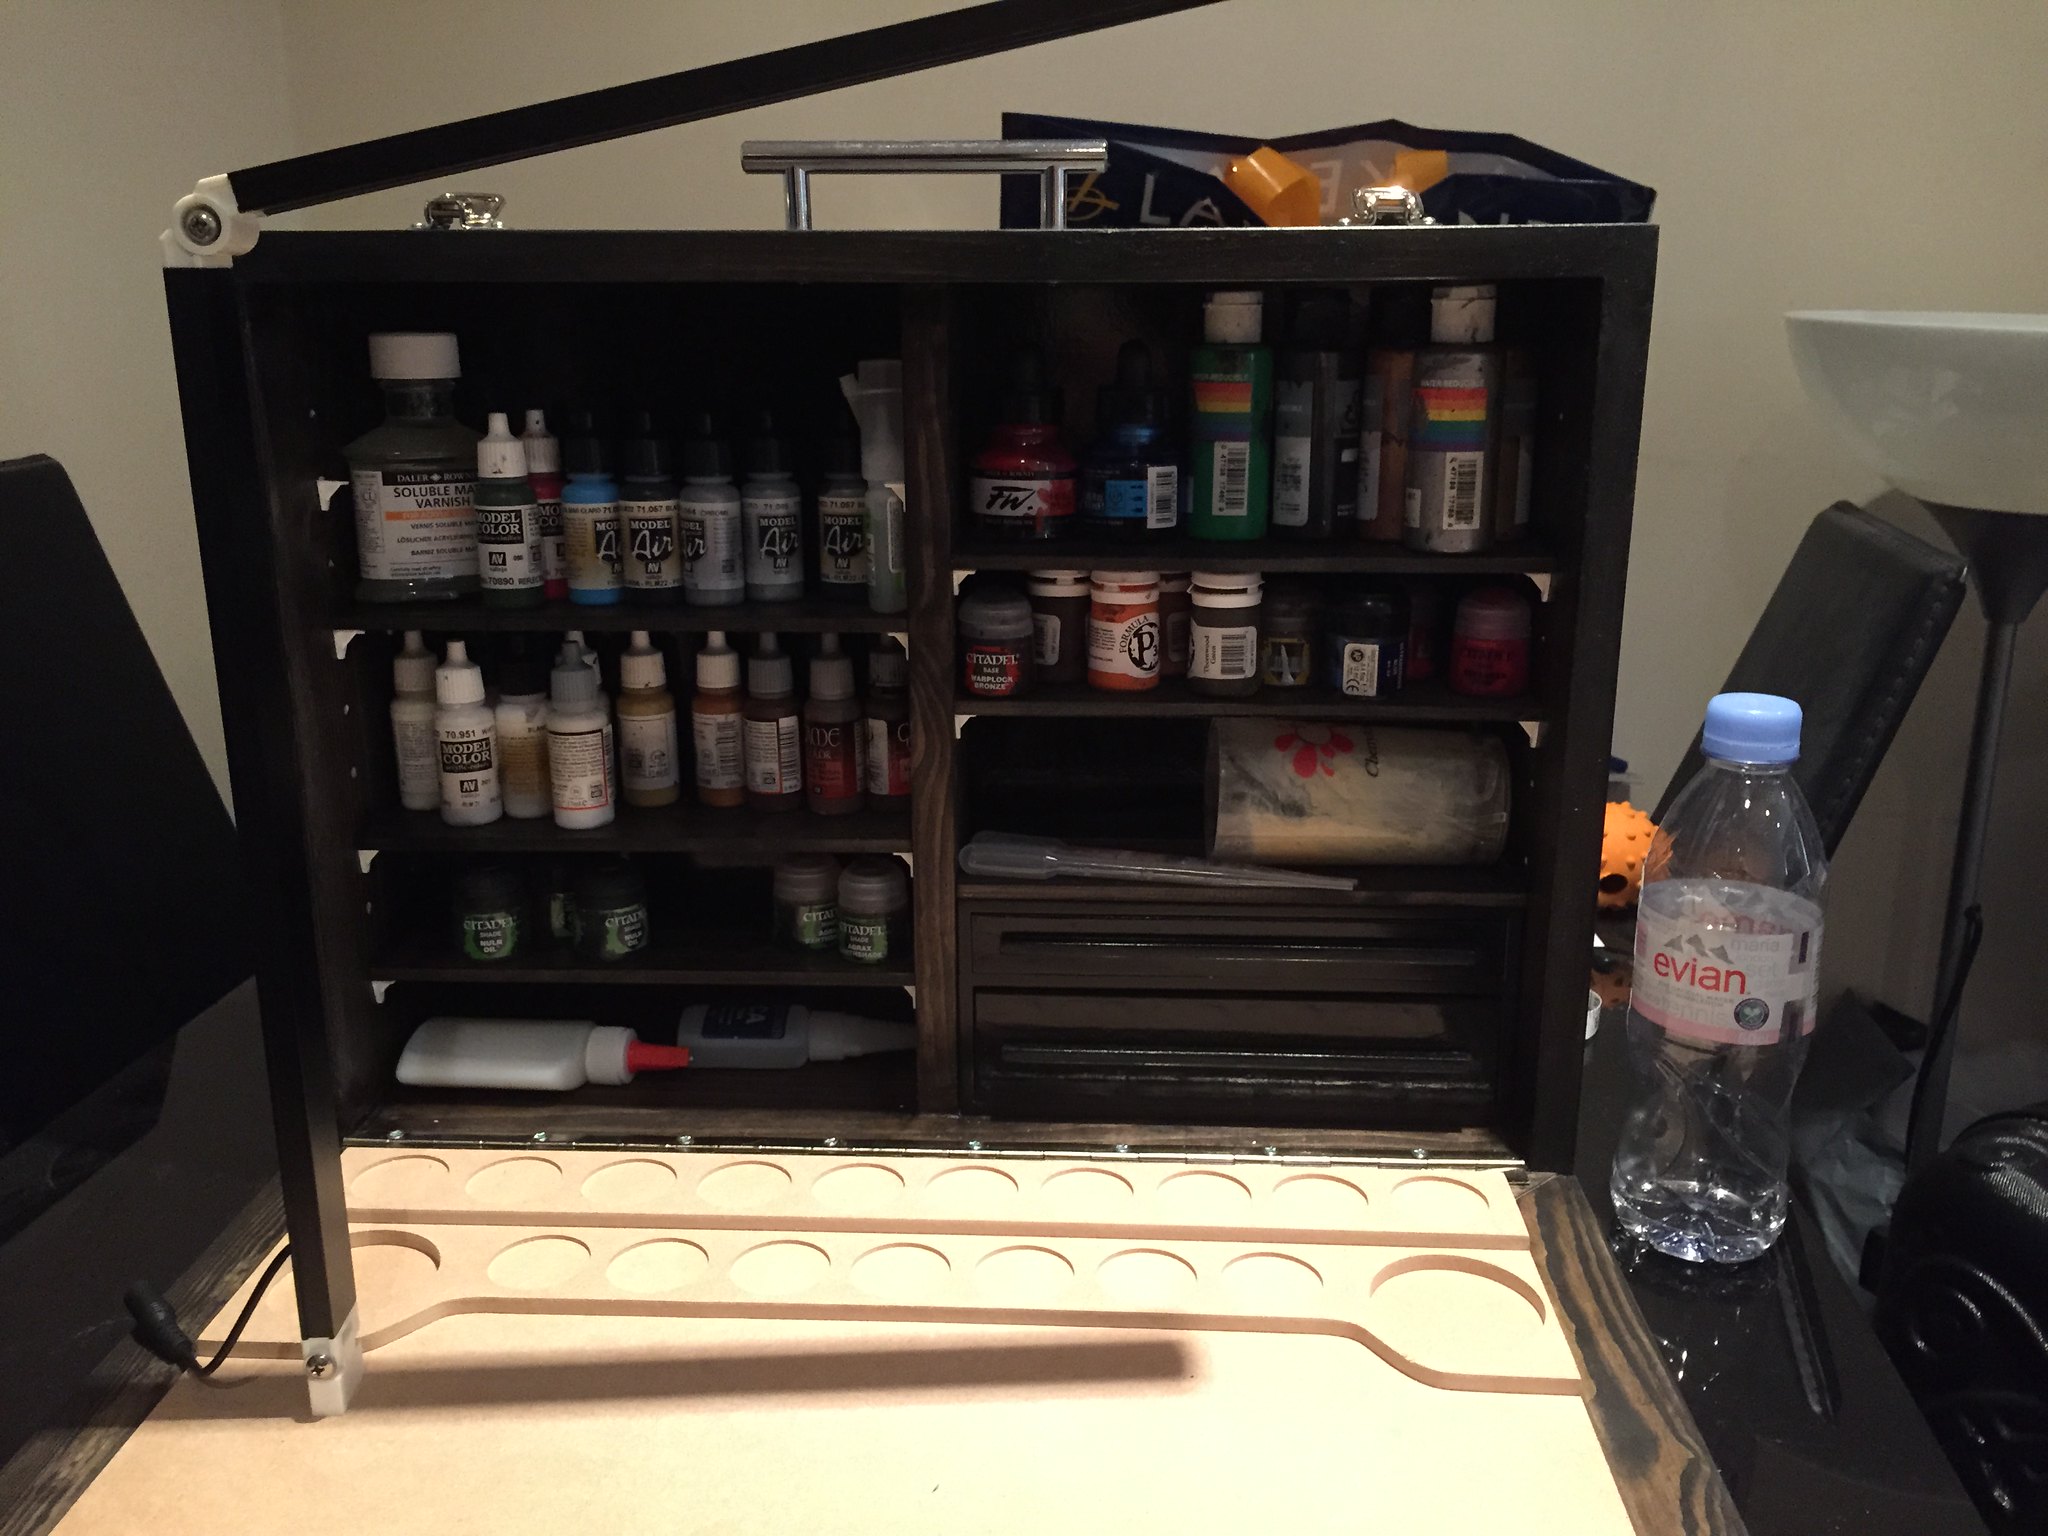
First among the key features to note are the adjustable shelves that are really easy to move around. There is a small two draw removable box which is the perfect size to hold all my brushes in the top one, and then all my files and pinning equipment in the lower (slightly larger) drawer.
Behemoth from parts to powerfulBehemoth from parts to powerfulBehemoth from parts to powerful

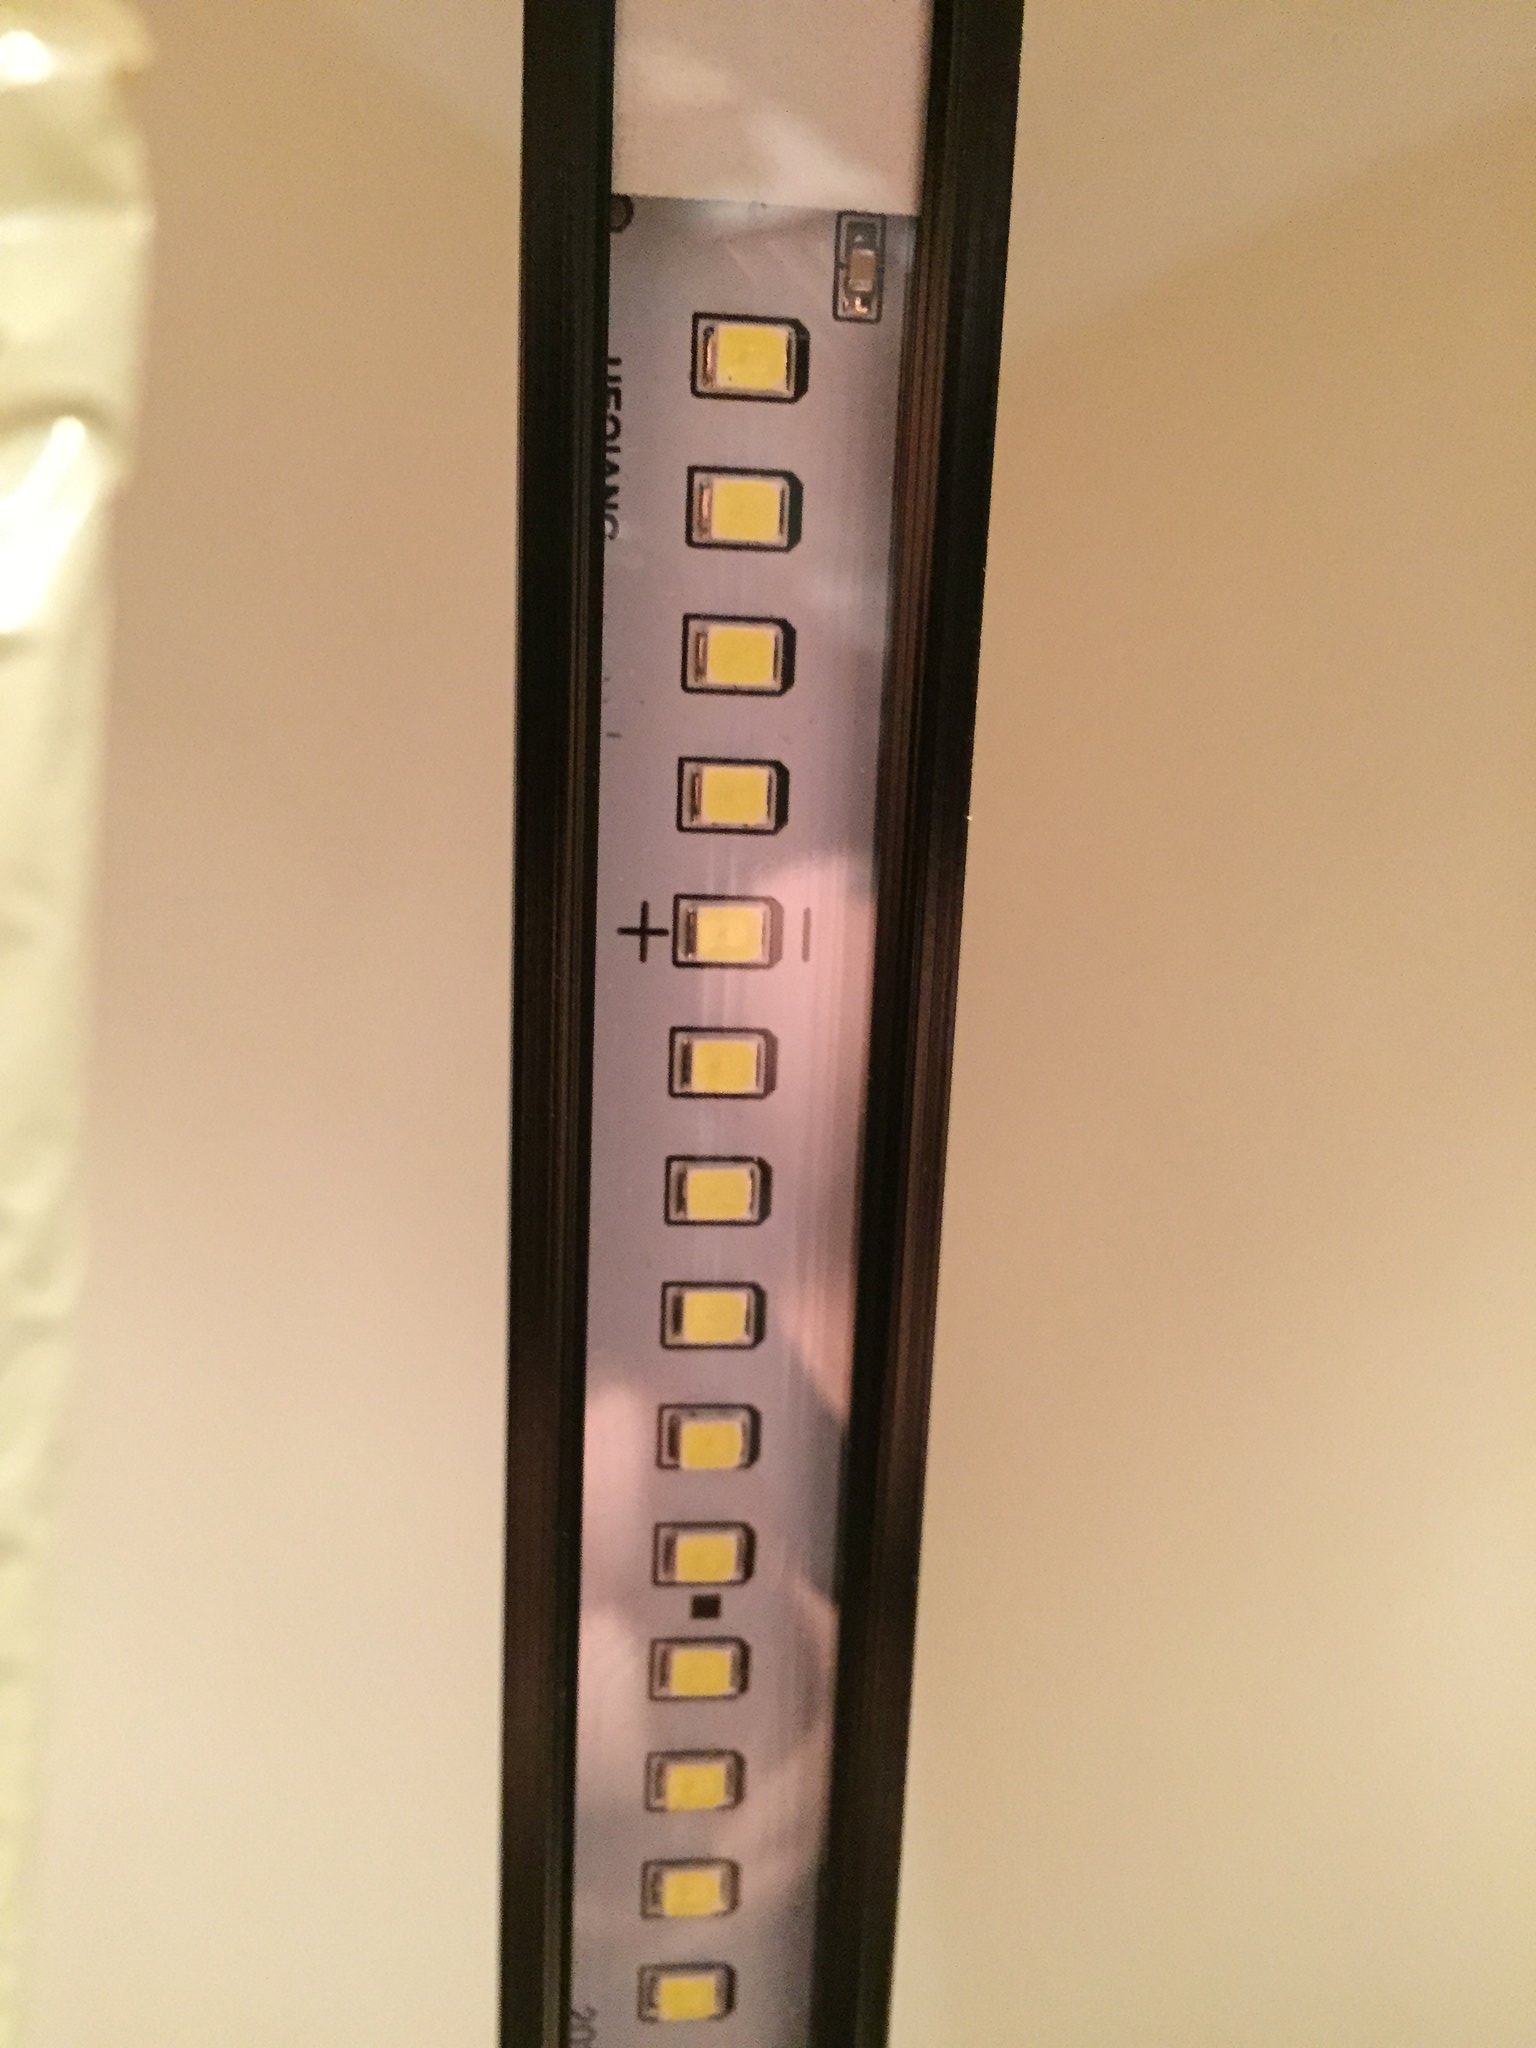
Now I know that one of the most annoying things that comes up often when painting is the lack of a suitable light source. Luckily Westwood have provided a truly brilliant adjustable strip light that not only uses super bright LEDs, but also has 3 brightness settings. This is awesome when you're painting in a room with some natural light - as the light moves you can adjust not only angle but brightness as well.


Behemoth from parts to powerfulBehemoth from parts to powerful

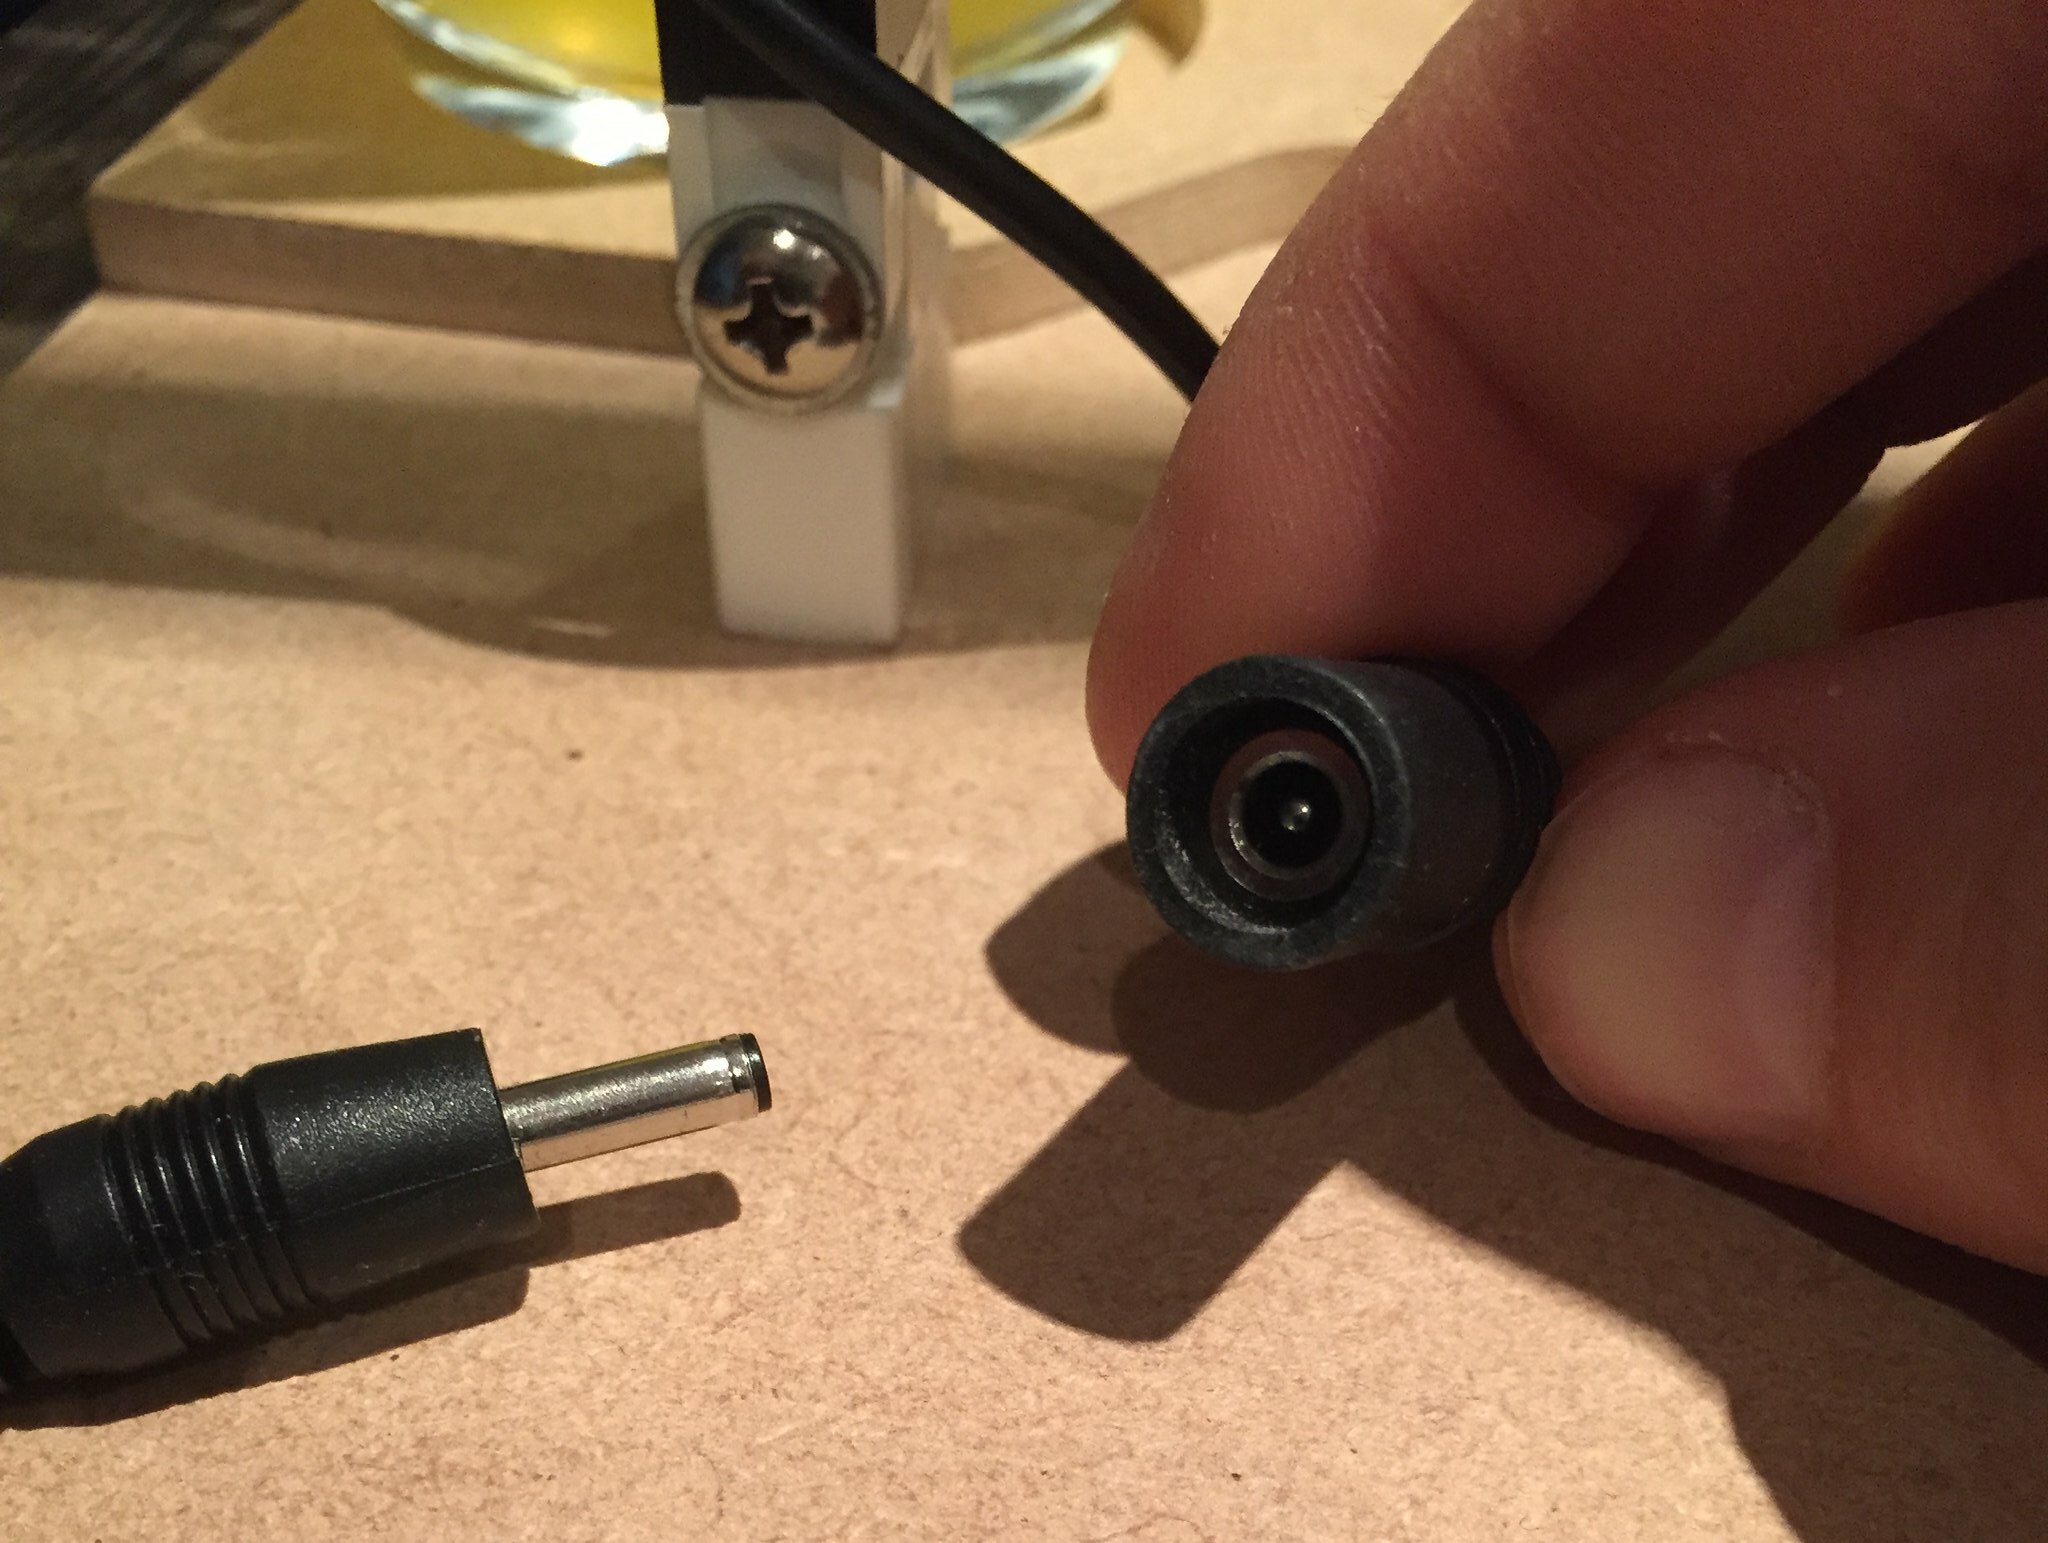
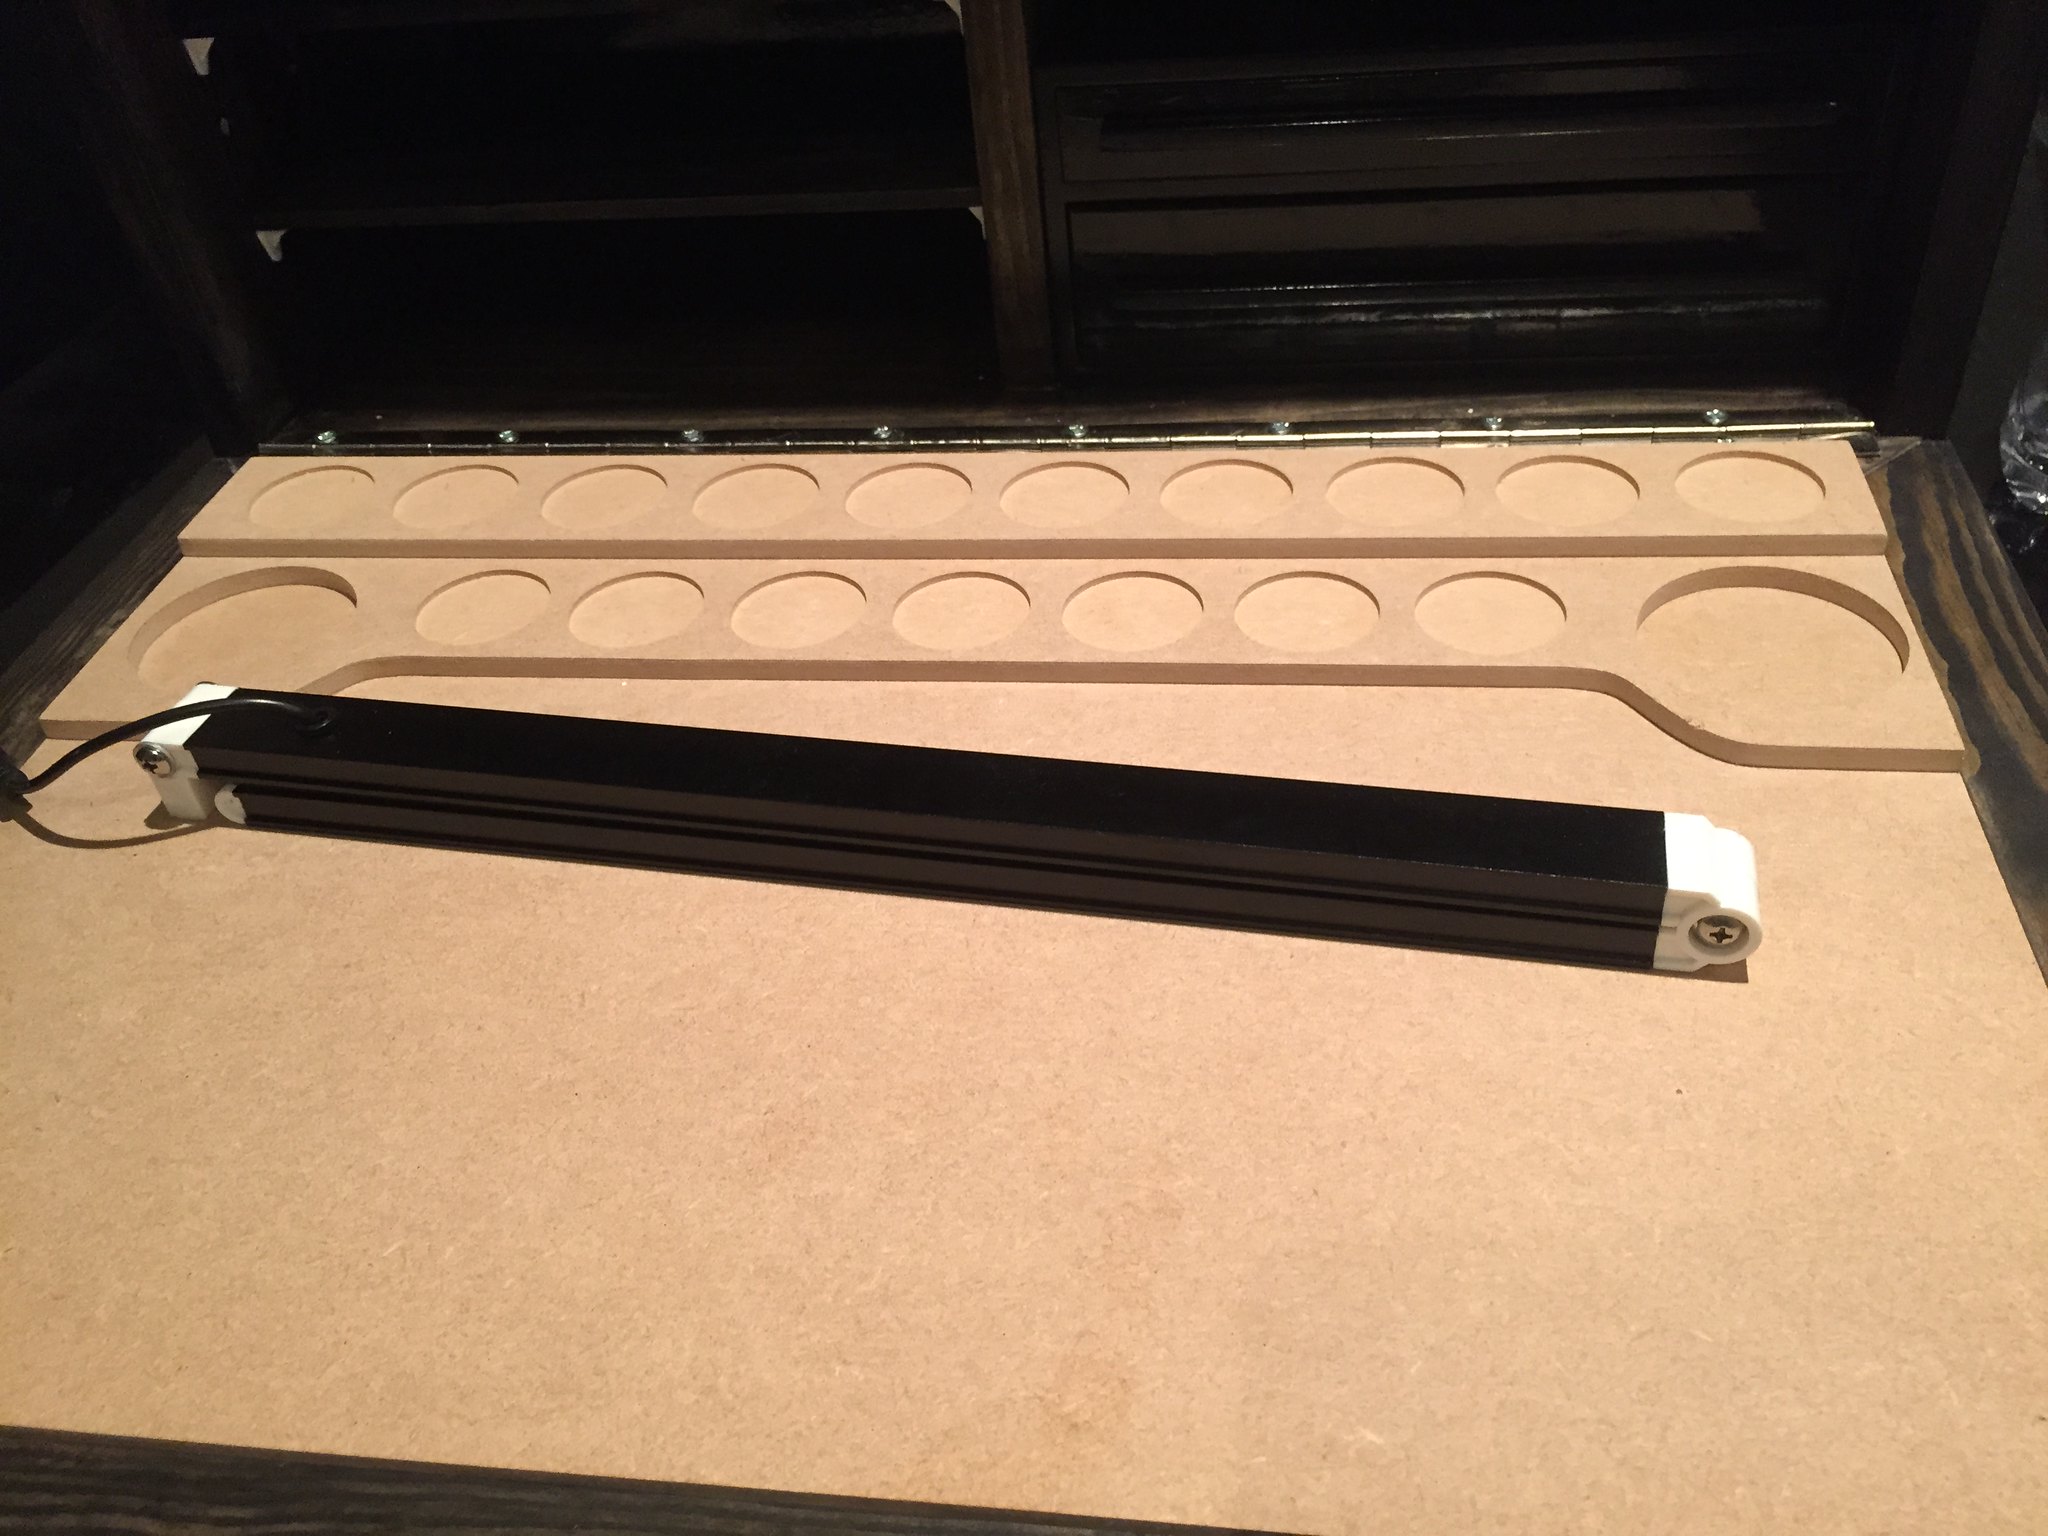
One of the many smart design features that I found on the piece is the manner in which the power to the light connects. As you can see in the picture below the connection is pretty heavy duty and should easily protect from the odd splash of paint or spilled water/ink/other random substance. The way that the light folds down is really neat, so the front can be closed and latched securely without having to find somewhere else to store the light - this is another big plus point, especially for those whom space is a premium.
Behemoth from parts to powerfulBehemoth from parts to powerful

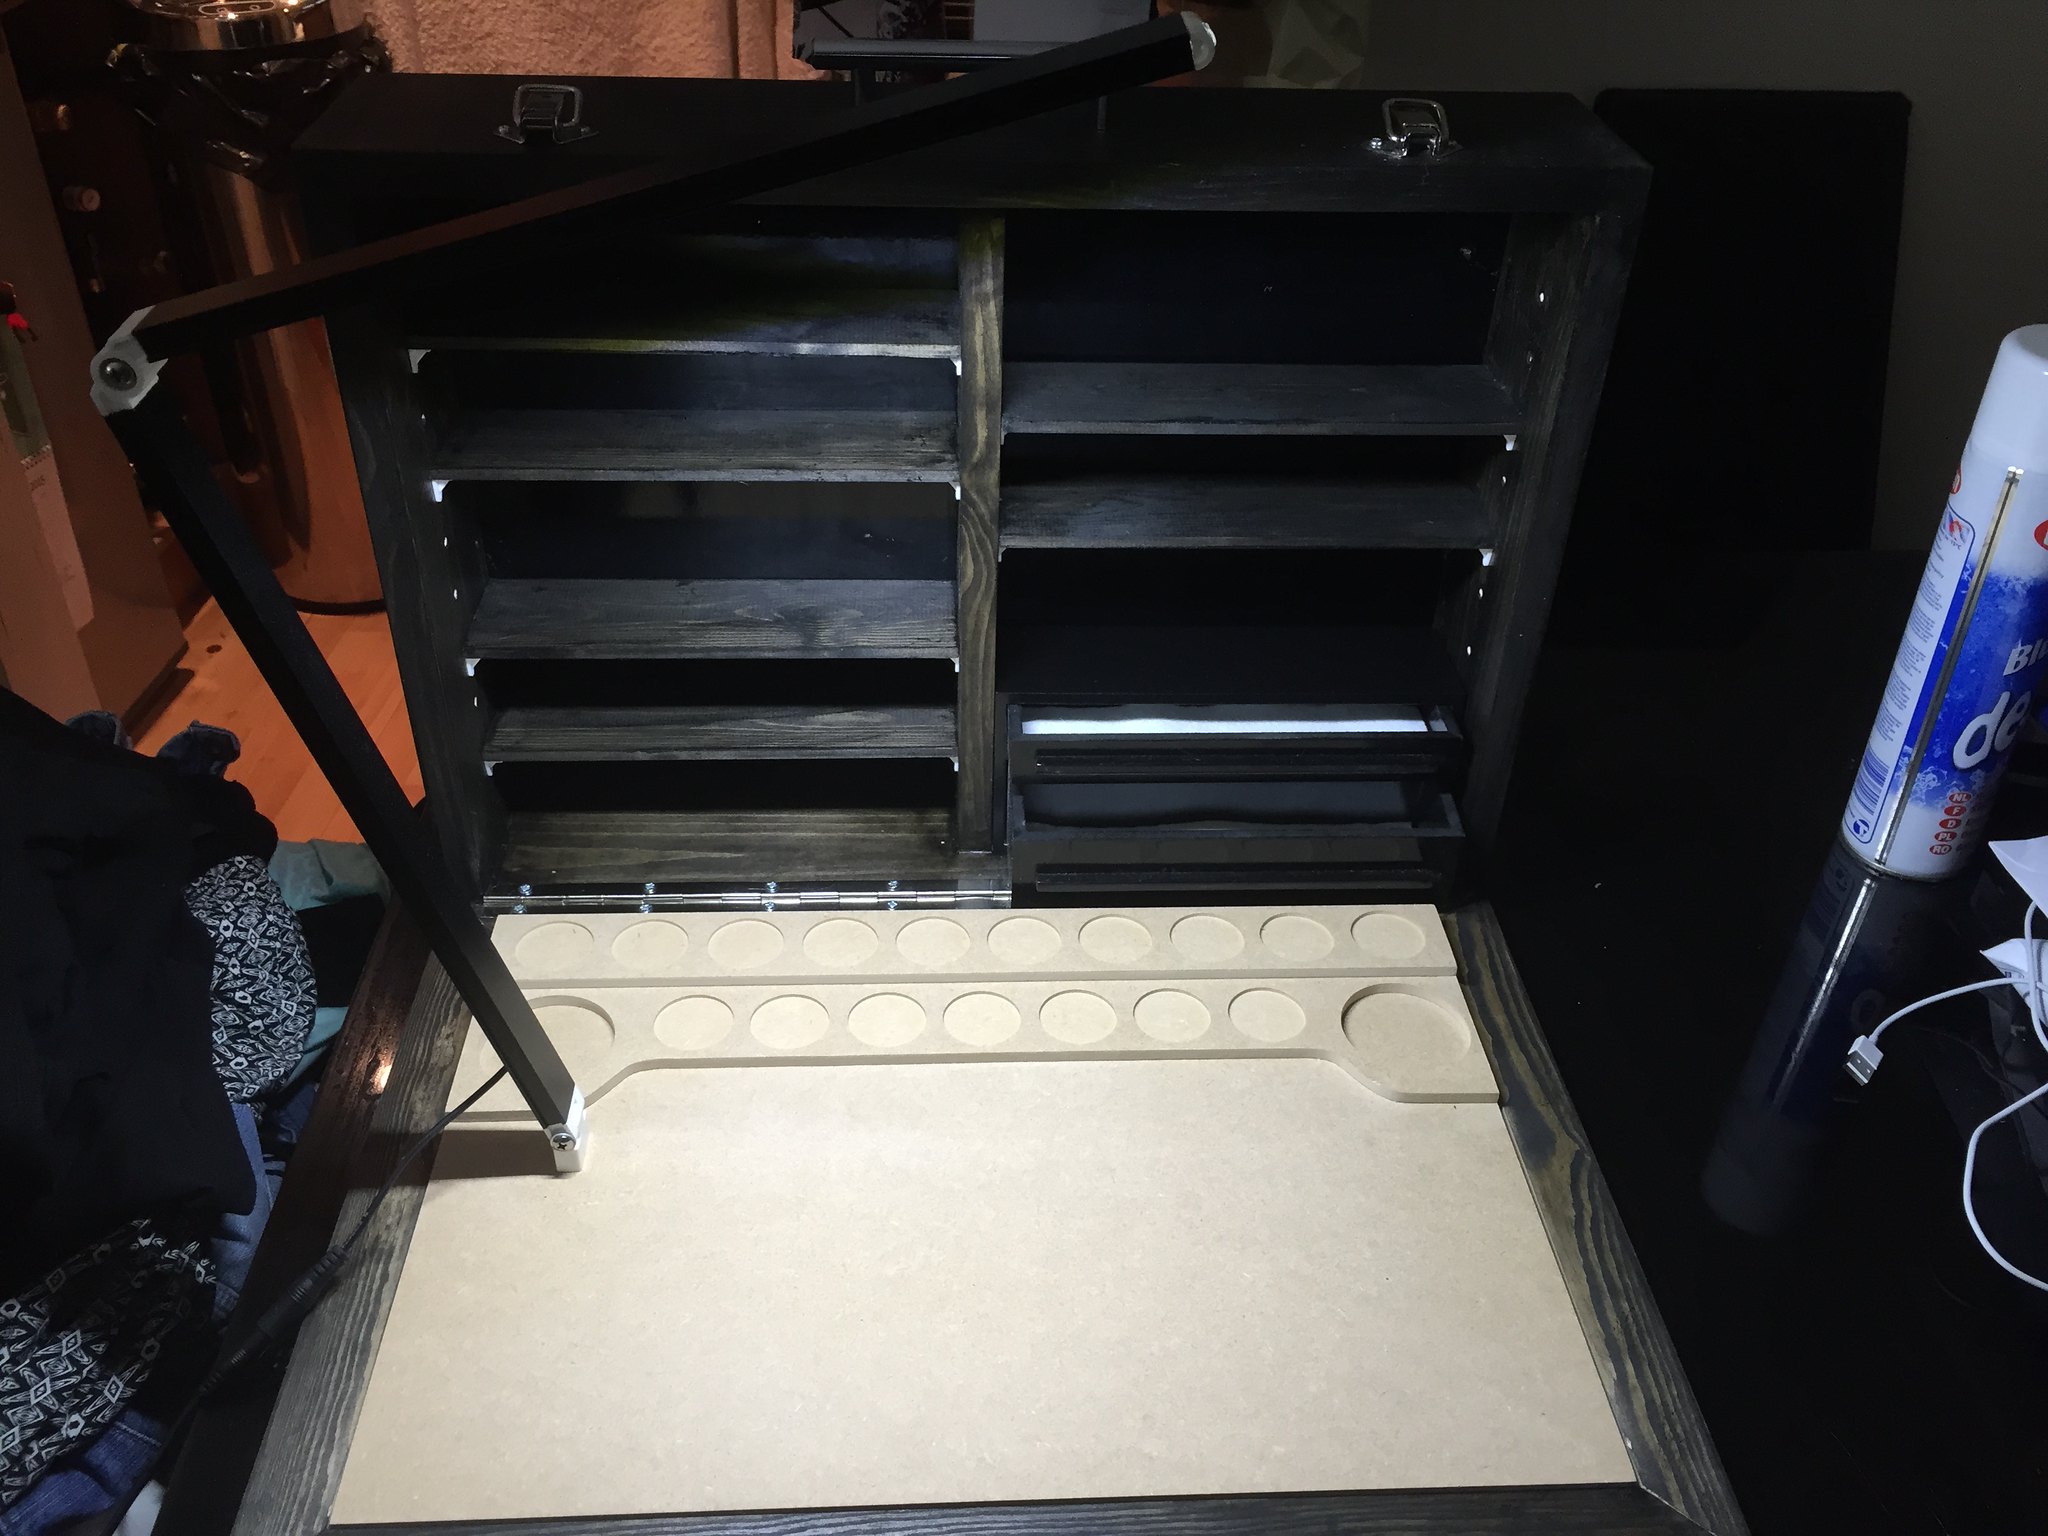
Speaking of smart design features, before I forget I should mention the magnetized painting board that holds the light, as well as a some recessed spaces that are perfect for either some models or paints. This is going to be great for when you have a whole unit that you want to work on in a production line style.

Having now painted my first model on this masterpiece of engineering. I am finding it difficult to explain how much this is going to help me in both keeping on top of an ever expanding list of projects and giving me a dedicated area (in our tiny flat) that I can have just for painting that gives me all I need in a small space. Without the need to keep taking out and putting paints/brushes/other equipment in draws, it means I can just drop the front plug in the light and I'm away. I can just close up the front and the stylish brief case style box looks cool and tidy at the end of a painting session.

Now for the bad bits... erm... there just aren't any!!! I can't recommend this product highly enough. I'm so impressed. In a few months I will give a follow up to let you know how its going and if I have had any issues, but to be honest having had a little look at the joints and method of construction this product is extremely well put together and I feel that if I look after it a bit (ie not throw it down the stairs), I will not need to buy another paint station for a long, long time. Now this may not be the best business model for Westwood,  I can imagine the only part that may fail after some time would be the light, but something tells me that this would be easily replaced.

The one thing that I have found is that being lefthanded the light could get in the way of my hand a bit, but to be honest the light is set far enough back into the board that all I really have found is that the light stand has stopped me from spilling my drink twice! I think Westwood are missing a small market in custom water cups for their paint stations... maybe these are coming soon *hint*

As far as room for paints as you can see from the picture below I have managed to fit all the paints I regularly use, plus quite a few more (there are quite a few double, I use a lot of white and earthshade!). There is also a lot of room for more paints as most all the model specific brand paints that I have could be doubled up on each shelf.

Behemoth from parts to powerful

As mentioned a the beginning of the article, this is a present from my partner for my Birthday, so I had nothing to do with the ordering of this. I have been told by Carla that Andrew & Jenny at Westwood were both very helpful and friendly to deal with. They kept very close to their delivery date.

Carla is not a gamer, has never been a gamer and has no interest in gaming! Yet when she ordered me a custom carry tray for tournaments through Westwood Woodworks they were more than able to guide her through what I needed and provided great advice and customer support. So if you do have a loved one wondering what to get you for a birthday/Christmas/special occasion I would point them in the direction of Westwood. If not, then do yourself a favour and get on over and order yourself one. I seriously doubt you will regret it any time soon...well the amount of time you spend painting might increase as you will have a kick-ass paintstation to get your paint on!

For more information contact the good people at Westwood Woodwork at their Facebook page

I have just finished a Khador Behemoth using this, which I will be posting up the painting piece of in the next few days as well, so keep an eye out.

Thanks for reading,

Stay Classy

Double Epic Tom