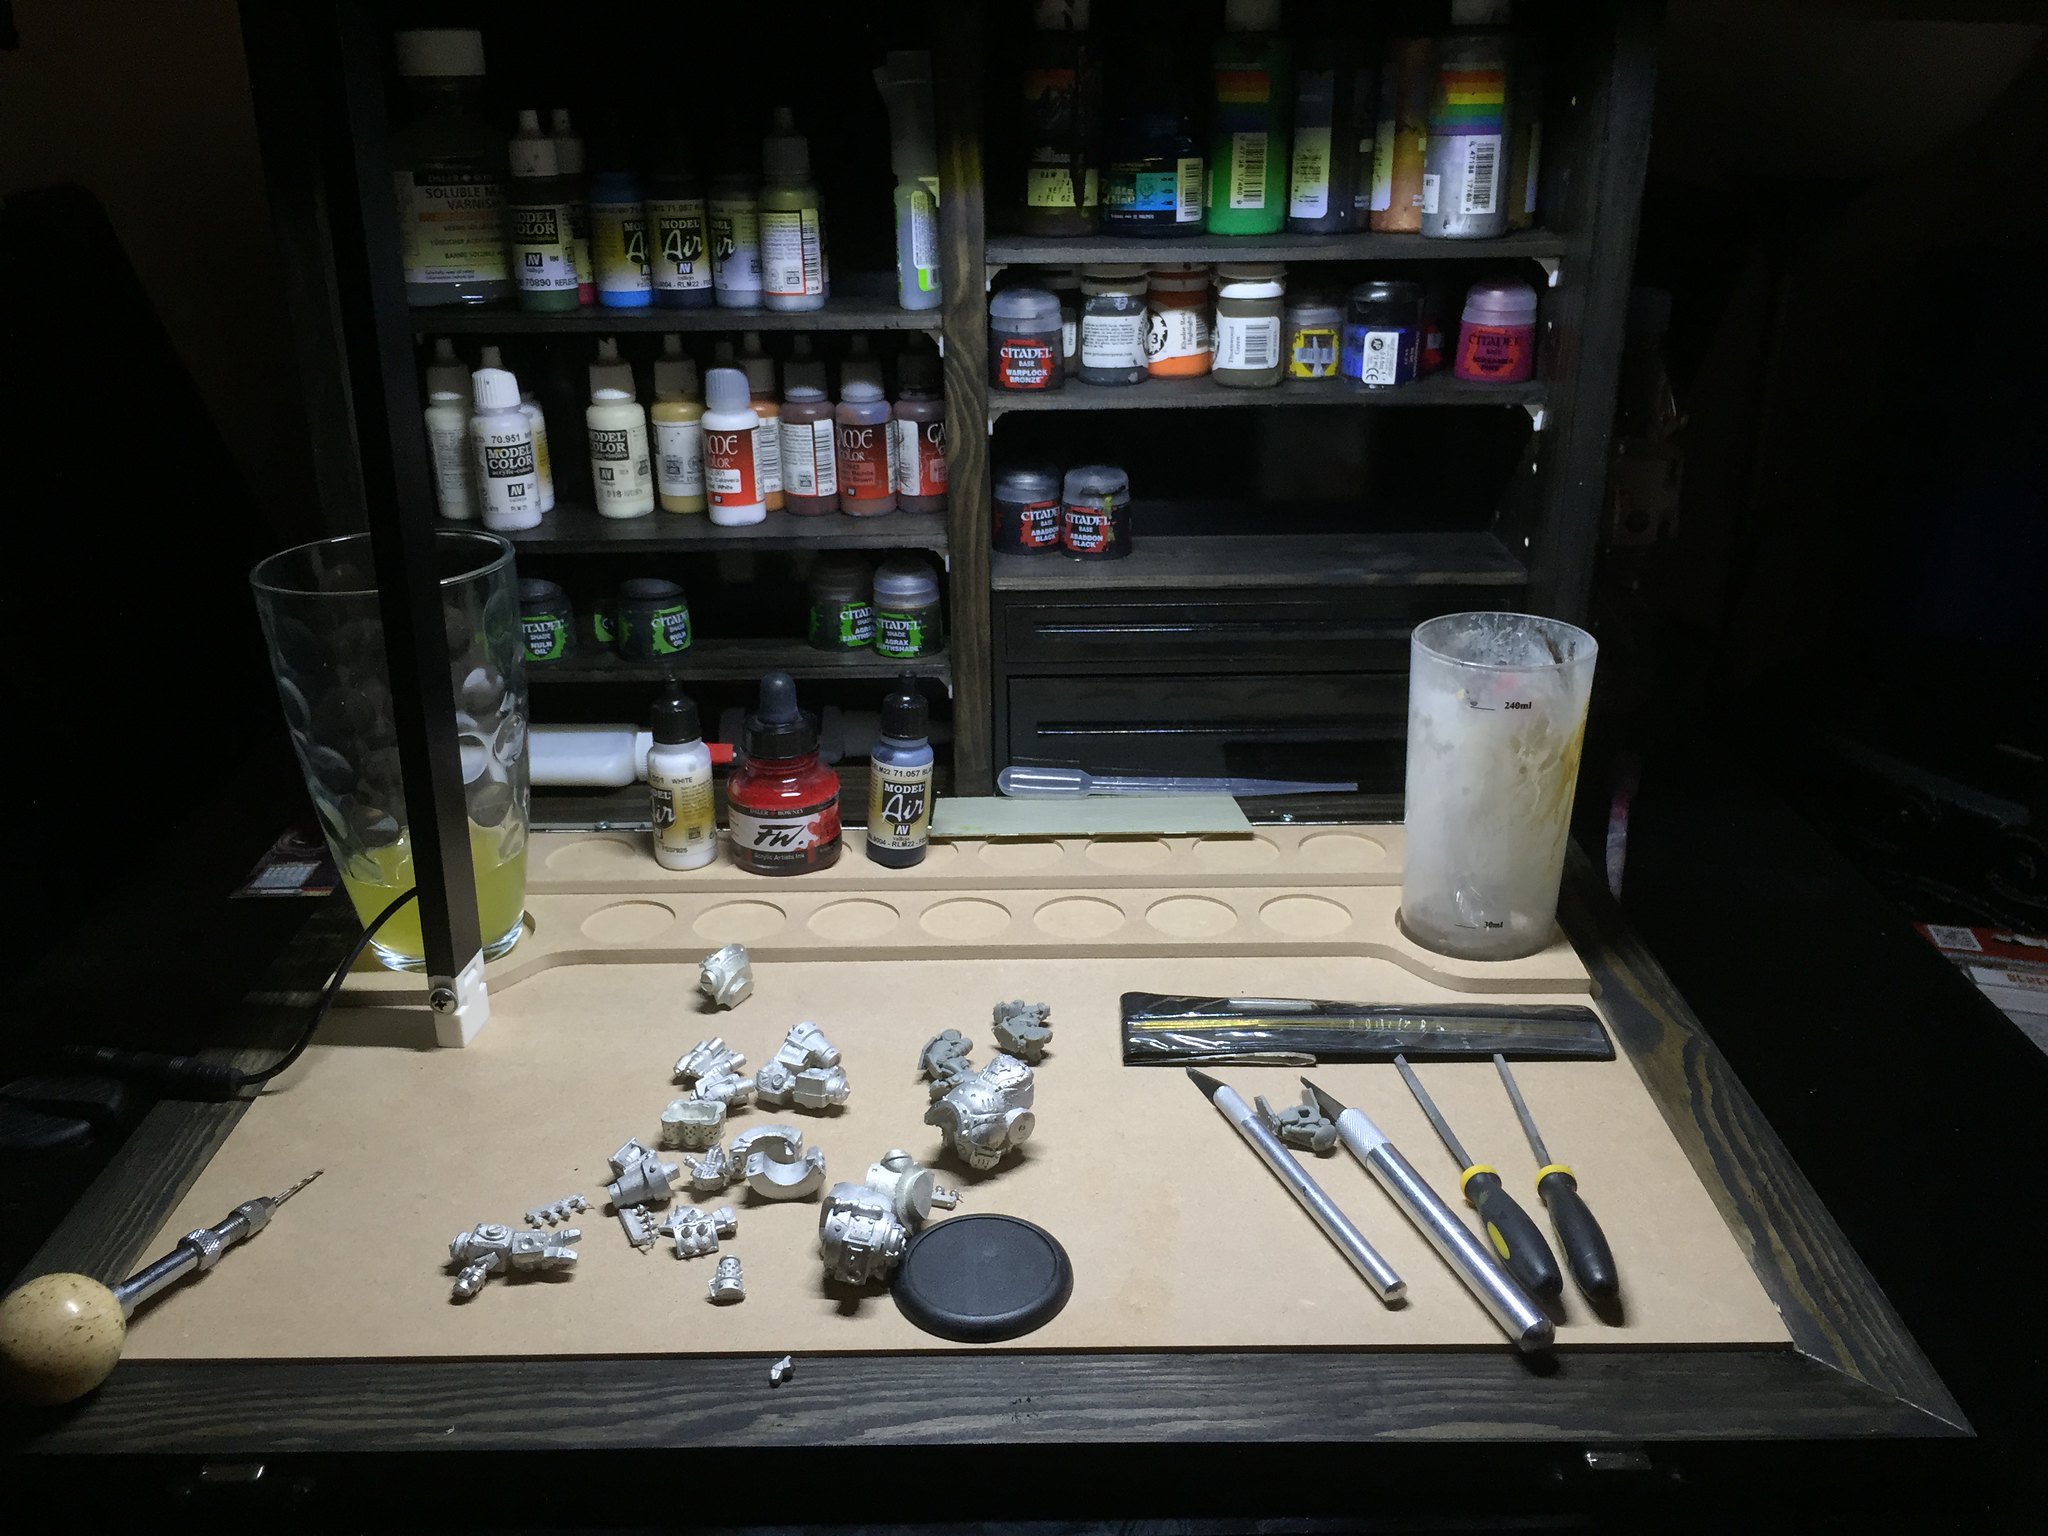
So following on from the review of the Illumistation painting station I received for my birthday I decided I should actually paint something so here is a little painting review/guide for the real Khador big boy, Behemoth!
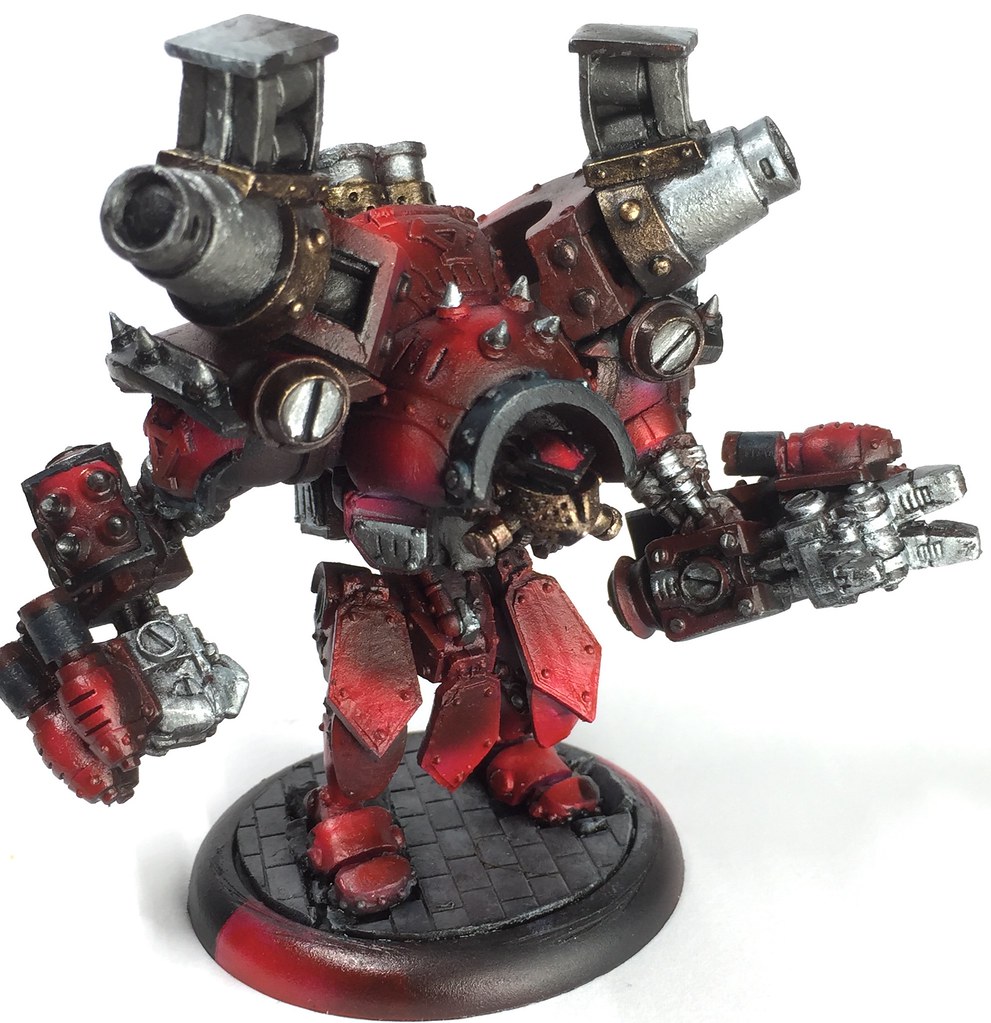
Firstly came the bog standard filing of all mold lines and general first fitting. This led me to the conclusion that pinning was going to be a necessary evil. Although its an easy job (with a dremel and Privateer Press pinning kits), it is yet another job before the painting starts. As you can see below I have made the bold (not that bold) decision to swap out the original Behemoth legs for a bog standard pair of plastic jack legs.
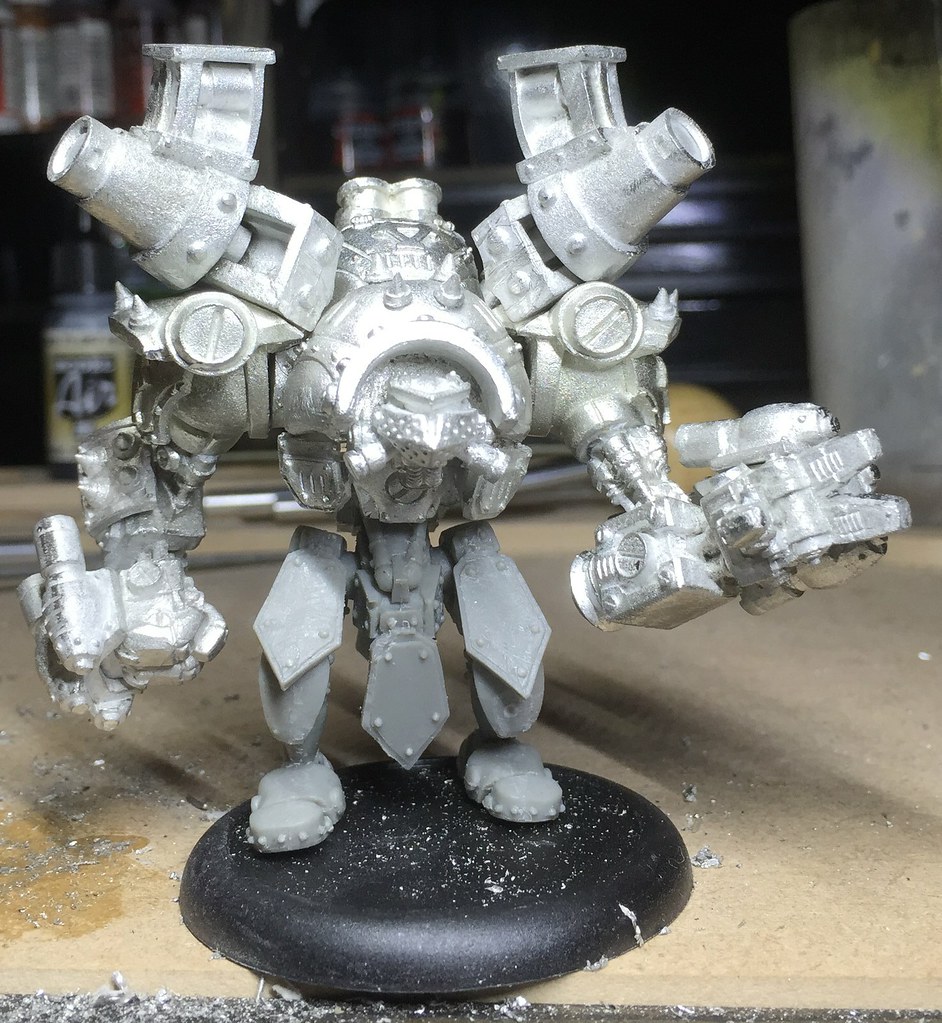
I think the legs take away the dancing, hops, skip and jumping weird look of the original sculpt. This does however add a more of a static feel, but I feel a little compromise here will both add to the over all menace of the sculpt and draw the eye up towards all the more interesting arms and bombards on the shoulders.
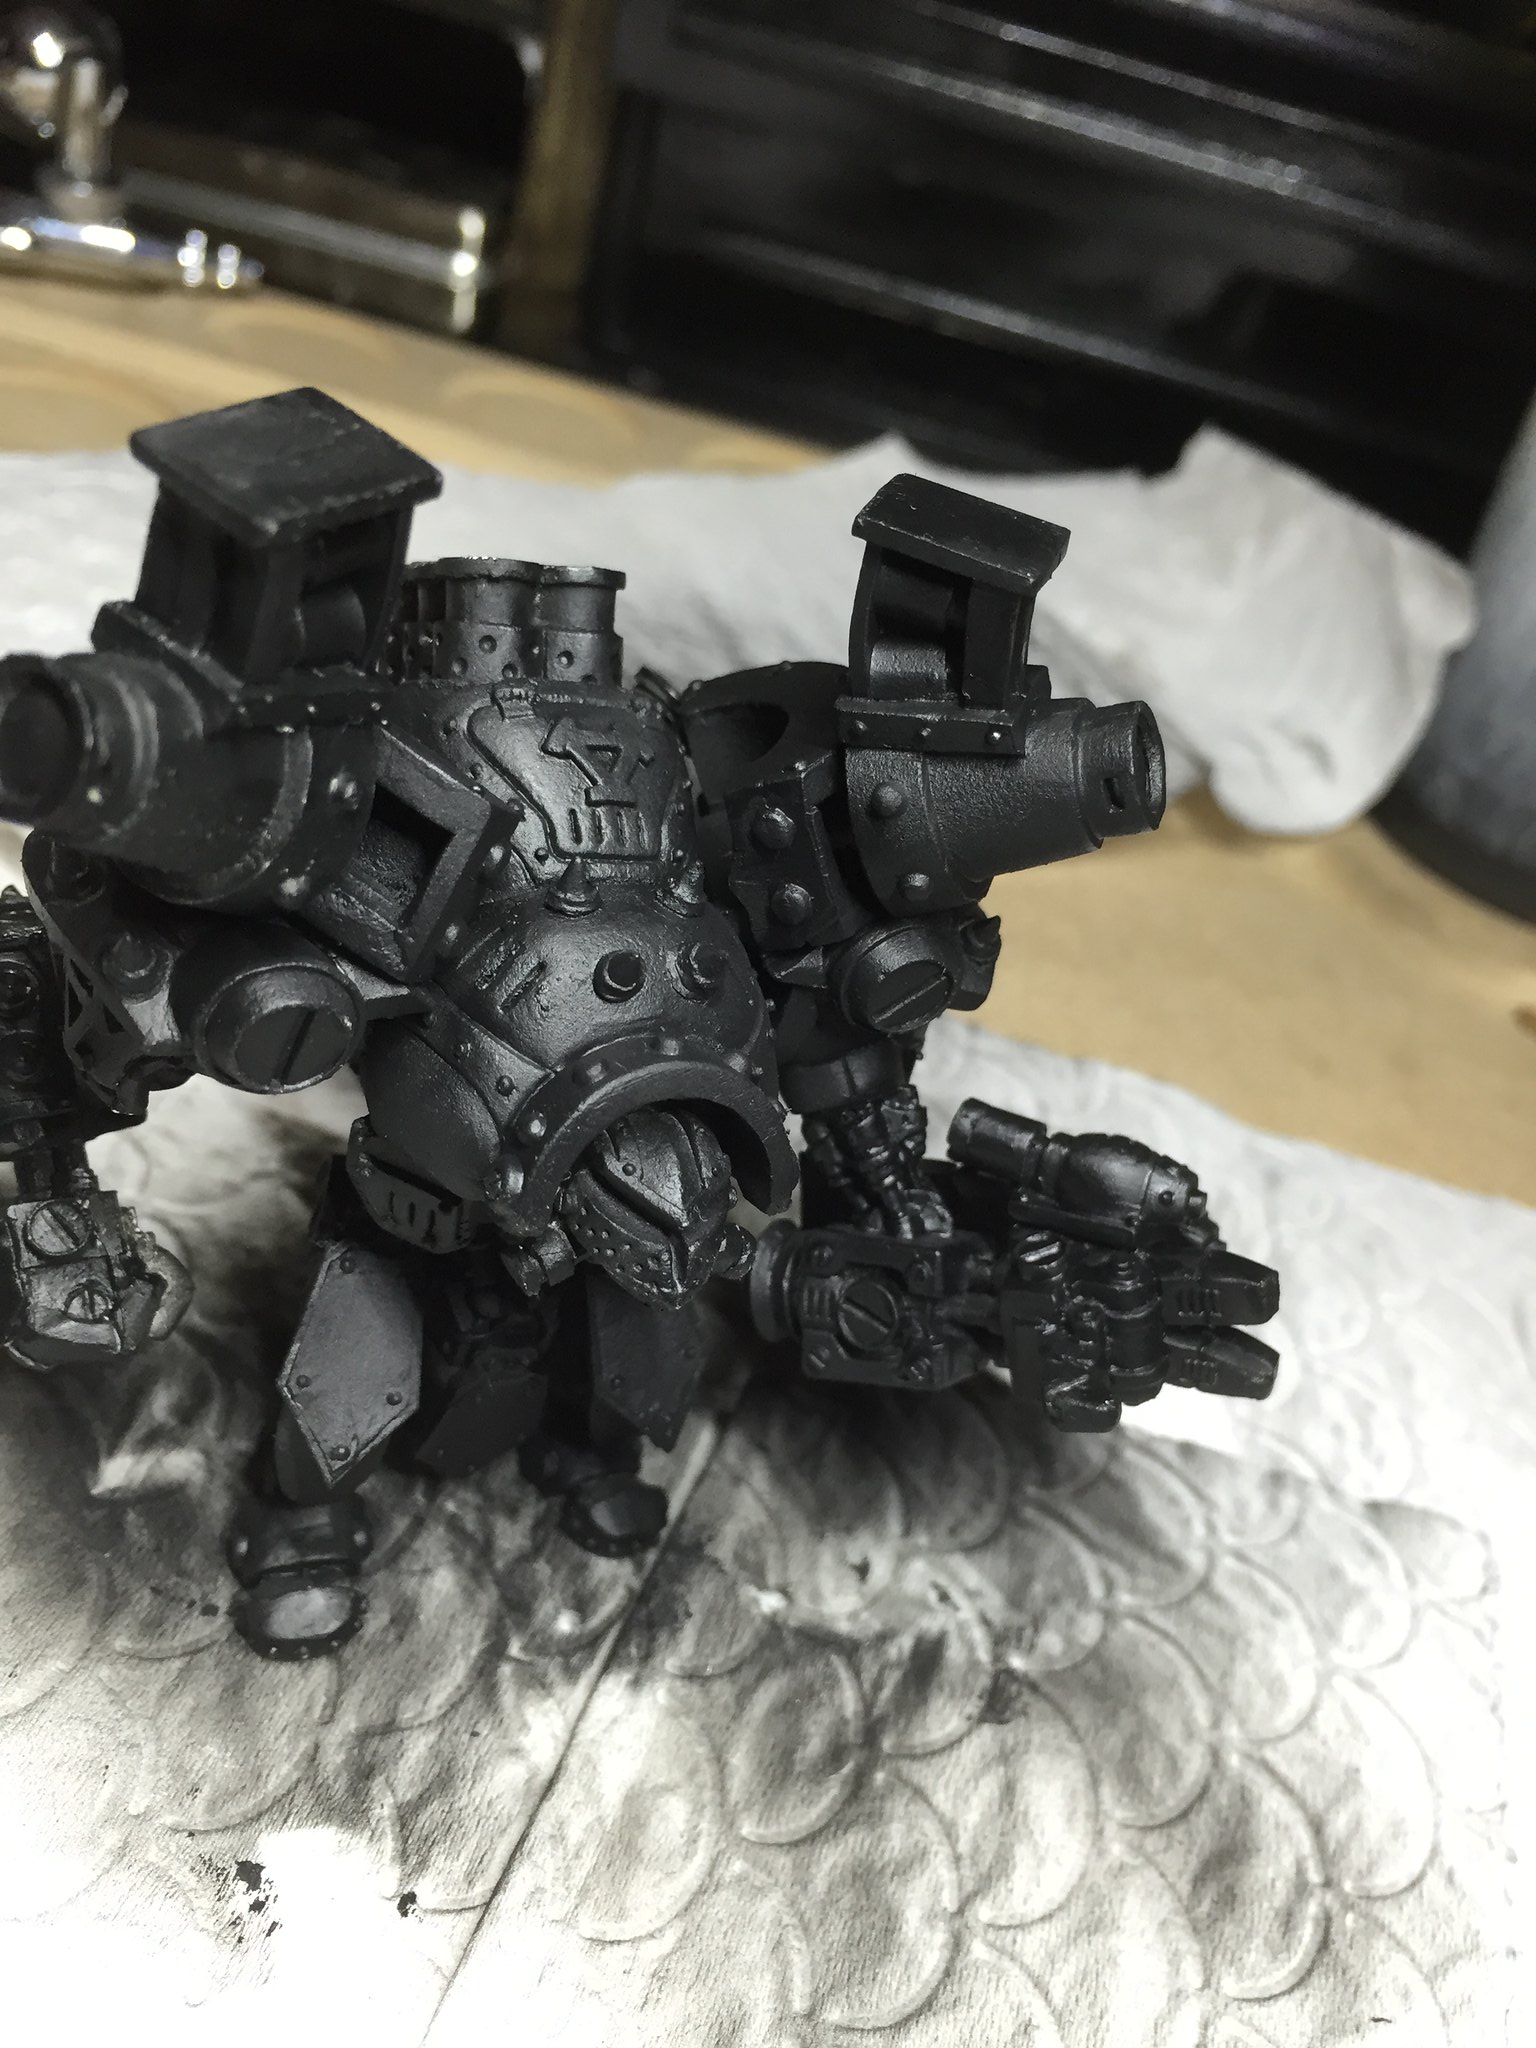
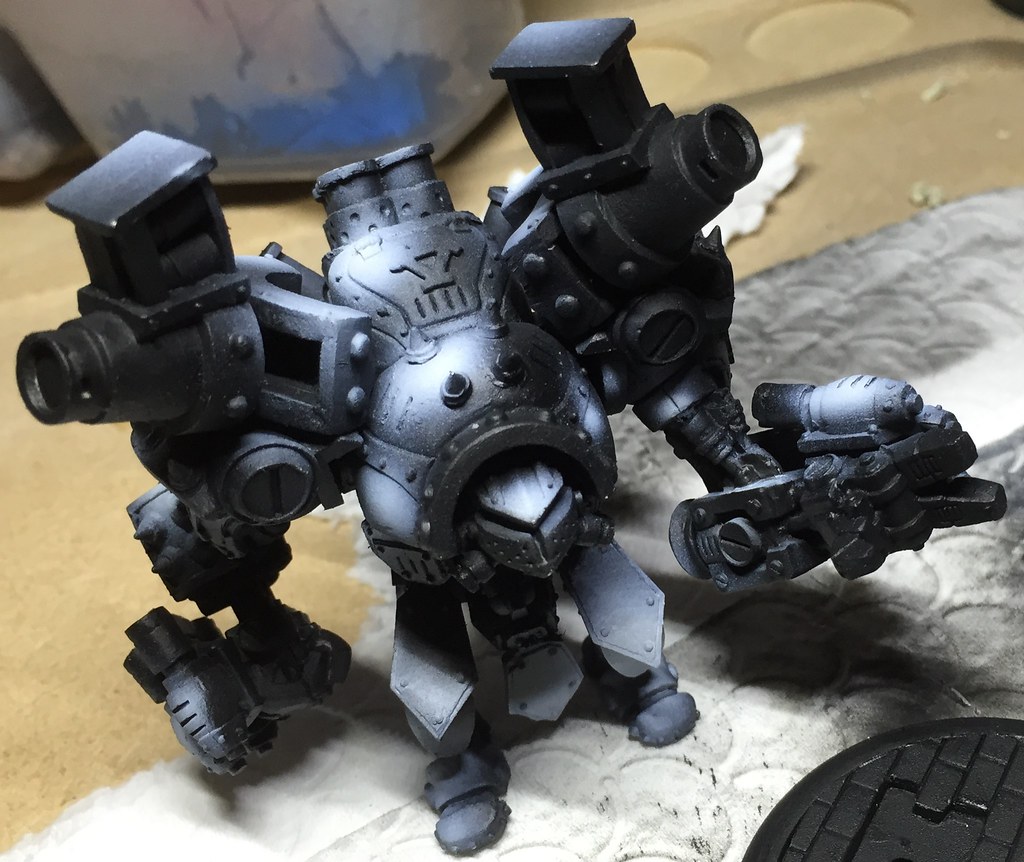
A small amount of Vallejo model air black primer in the airbrush later and Big B certainly is on the way to looking like a badass.
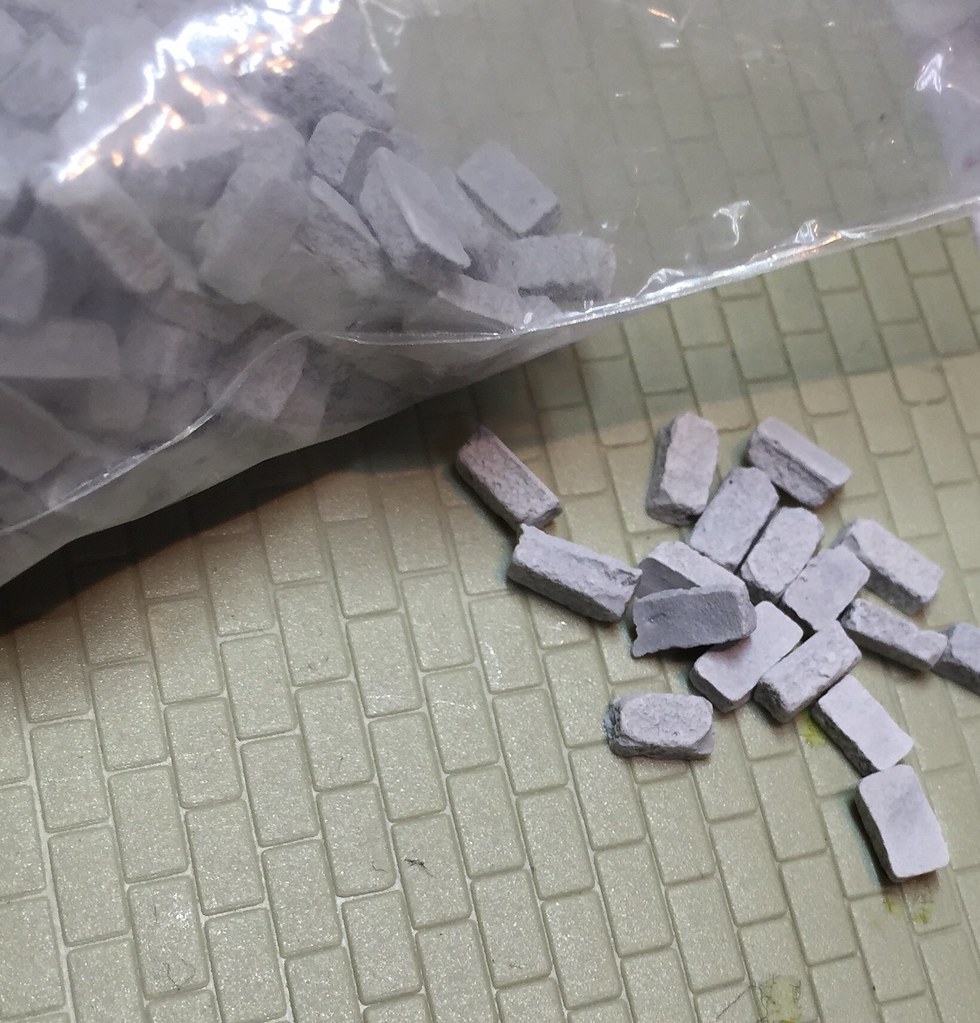
At this point, before its onto painting proper I thought I had better sort out something a bit fun for the base before its too late. So I grabbed some plastic-card brick design template and a handful of these small bricks and got to work! After cutting out a suitable circle of the plastic-card I put the model on it to mark out where the feet are going to be.
I then cut out the feet, stuck the card to the base as below
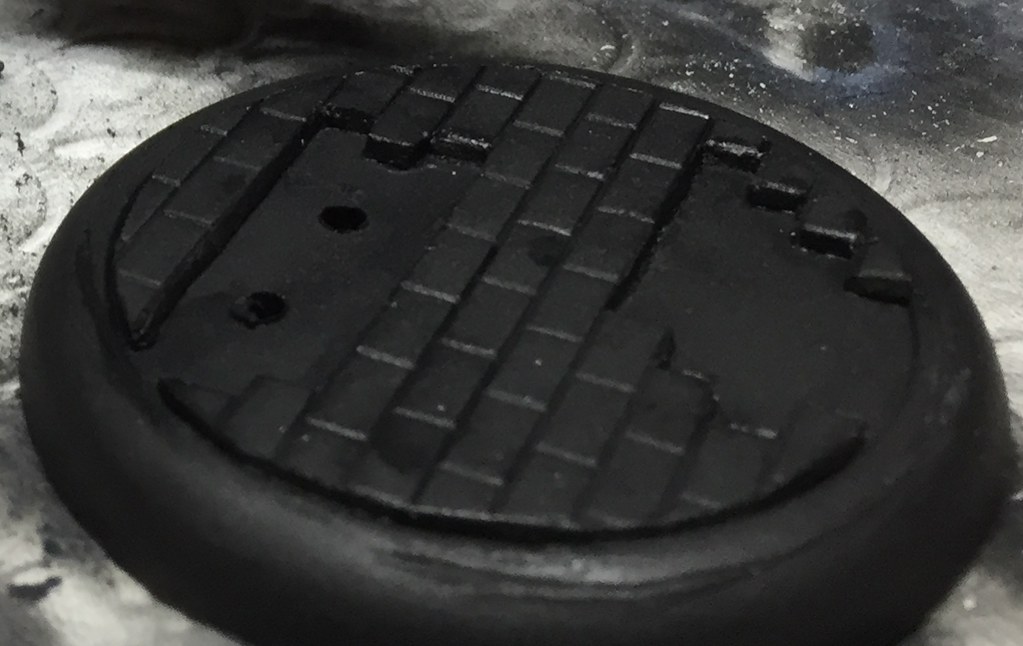
and then it was time to stick on the bricks to the base in a way that makes it look like the jack was so heavy the weight of a 6 ton jack would crush the bricks!
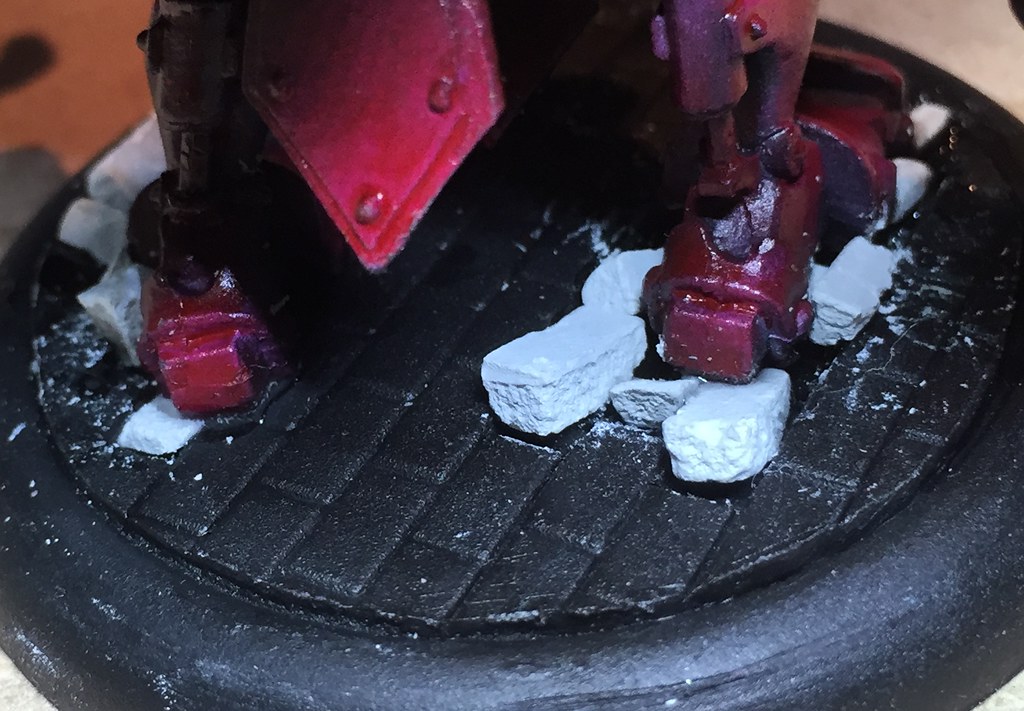
This was done by using a scalpel to slice and break up the bricks. I then glued them in and undercoated them. But I'm getting ahead of myself!!!
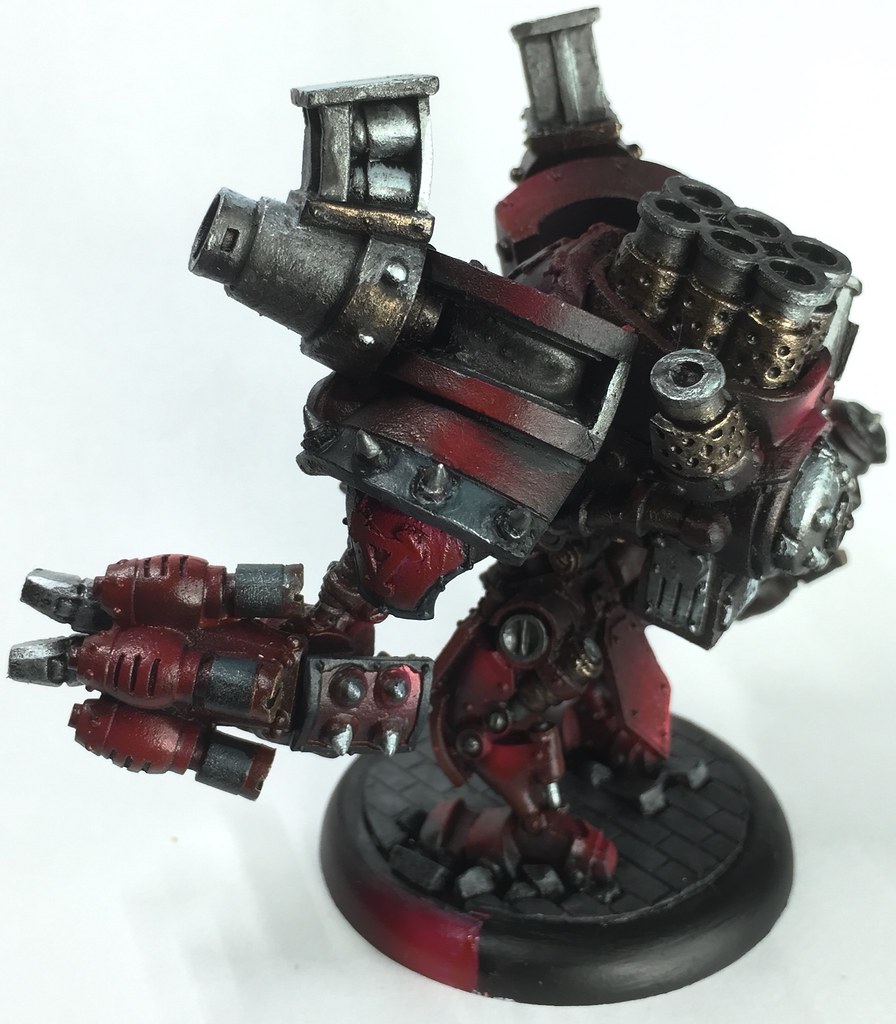
So its now time for painting time of Big B, so I just simply used some model air white through the air brush to add any highlights on the red parts of the amour as below
then its time to spray on some red ink. This covers not only the white with a strong bright red, but leaves the black with a subtle dark red tint. Then I painted all the metal bits a mix of Vallejo steel and black. The black parts were painted black.
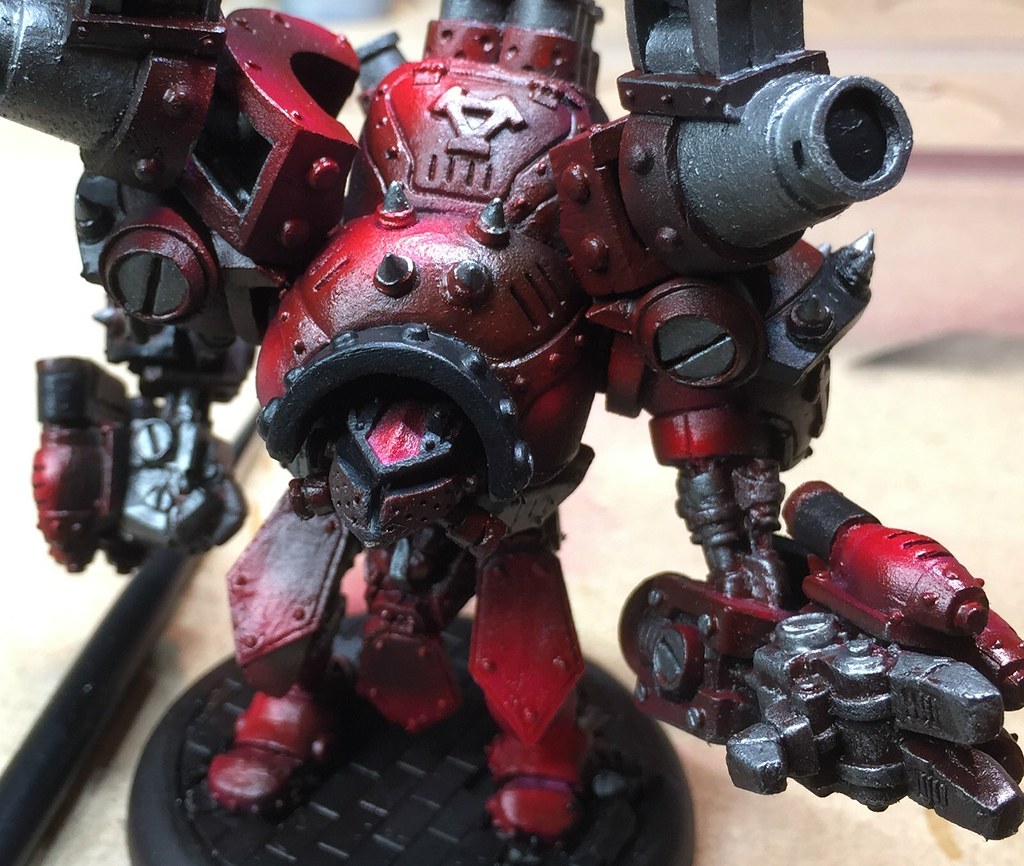
Then it was time to paint the bronze parts GW warpstone bronze. That meant that all the base colours were completed and it was time to get my highlight on!
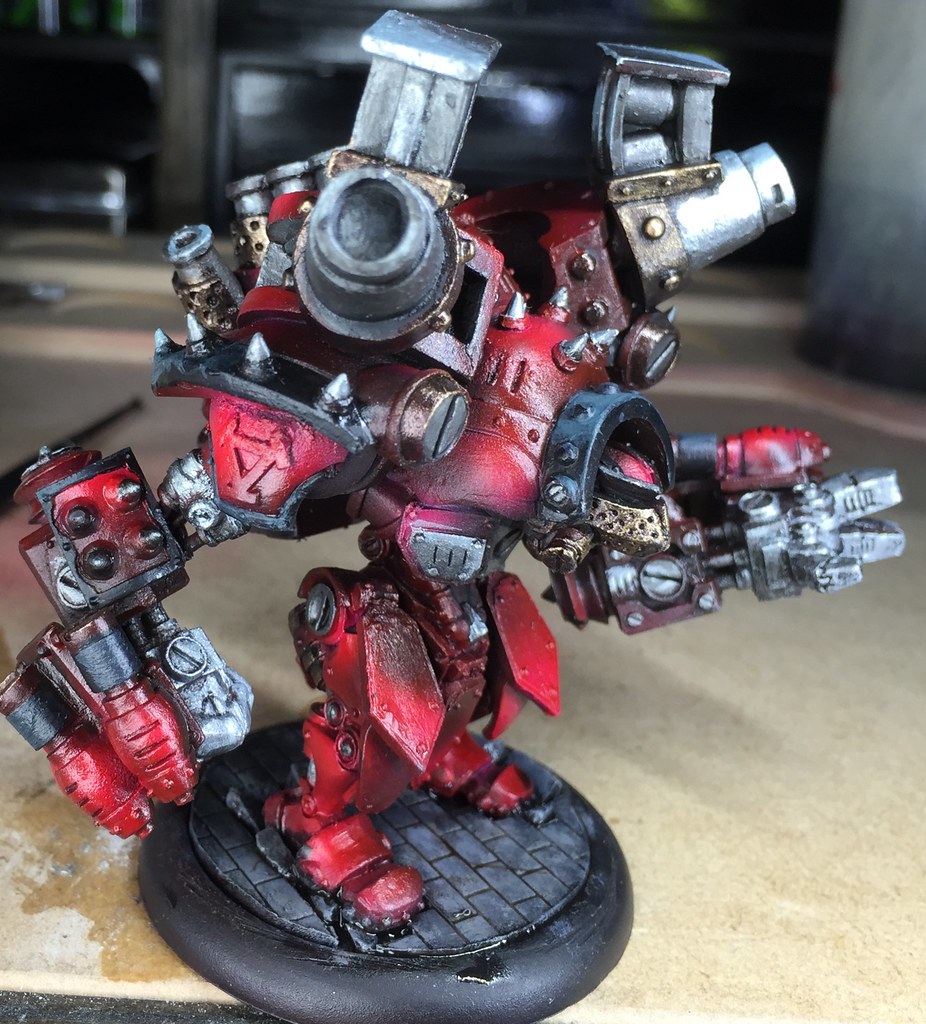
So I kept the highlights nice and simple. Vallejo steel for the silver highlights, Vallejo bronze for the bronze parts, and a mixture of black, blue and green for the black highlights. giving a slightly cooler grey colour.
The base was painted black and then 2 different shades of grey were applied to give a bit of texture to the base I stippled the grey on using an old medium size dry brush. Once dry, I applied a wash of Agrax Earthshade to the base to take the edge off the lighter grey. To mark the arc on the base I masked off the base with bluetac and used the same white highlight and red ink technique used on the armour. Then I just airbrushed on some matt varnish and the work was done.

I hope you enjoyed this little ramble. Please feel free to post any comments or criticisms. I'm looking to improve so any help is much appreciated.
Stay Classy
Double Epic Tom
No comments:
Post a Comment